Follow Me On Social Media!


Easy Royal Icing Recipe: Perfectly Decorate Your Cookies!
Introduction to Easy Royal Icing Recipe for Decorating Cookies
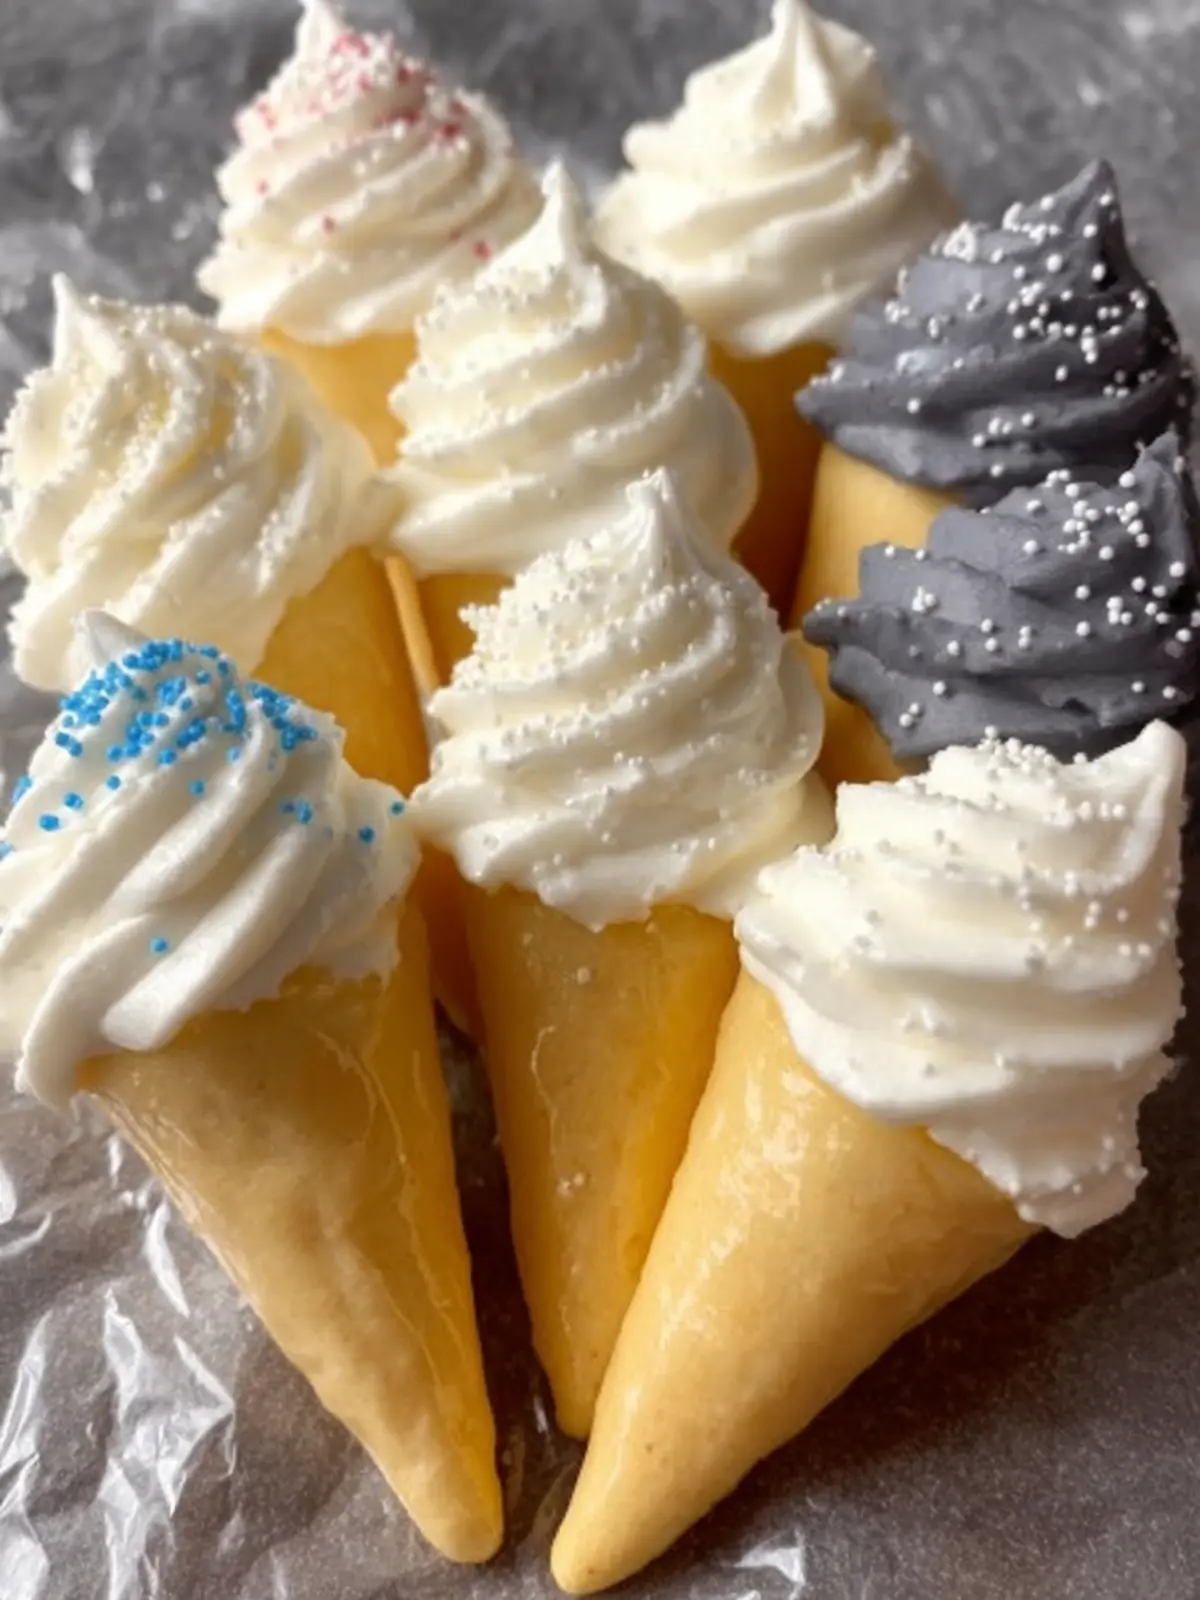
Embarking on the journey of cookie decorating often leads aspiring bakers to discover the magic of easy royal icing recipe. This delightful mixture transforms ordinary cookies into edible art, offering a creamy texture and brilliant finish that captures the eye and senses. Picture a cozy evening where a batch of freshly baked sugar cookies patiently awaits their transformation. With royal icing in hand, even the simplest designs can dazzle, turning your kitchen into a festive display of creativity.
As you whip up your easy royal icing, you’ll encounter a sweet simplicity that proves this recipe is a game-changer. The ability to customize colors and textures allows you to express your unique style—from whimsical holiday shapes to elegant wedding favors. Generations of bakers have turned to this icing because it not only dries hard enough to stack cookies but also flows beautifully for intricate designs, allowing both beginners and seasoned decorators to shine.
What Makes Royal Icing a Favorite for Cookie Decorating?
Royal icing has become a beloved staple in the cookie decorating world for several reasons:
- Versatility: From flood work to piping intricate details, this icing adapts to various decorating techniques, making it suitable for every occasion.
- Durability: Once set, royal icing dries hard, providing a sturdy surface for stacking and packaging your creations without fear of damaging them.
- Customizability: You can easily add food coloring to create vibrant shades, ensuring your cookies perfectly match any theme or celebration.
- Easy to Make: With just a handful of ingredients—egg whites or meringue powder, powdered sugar, and water—you can achieve a consistent and glossy icing with minimal effort.
Whether you’re creating cookies for a birthday party, holiday gathering, or simply indulging in a fun baking afternoon, an easy royal icing recipe takes your cookie game to the next level. By mastering this technique, you’ll not only satisfy your sweet tooth but also impress friends and family with your artistic flair. So grab your piping bags, and let’s dive into the delightful world of royal icing!
Key Ingredients for Easy Royal Icing
Creating an easy royal icing recipe is all about choosing the right ingredients for those dazzling cookie decorations. Each component plays a vital role in achieving that perfect glossy finish—let’s dive into what you’ll need.
-
Powdered Sugar: This is the backbone of our royal icing. Its fine texture helps create a smooth consistency, perfect for piping and flooding your cookies. Always sift your powdered sugar before measuring to remove any lumps for a seamless blend.
-
Egg Whites: Fresh egg whites are traditional for royal icing, giving it strength and stability. If you’re concerned about using raw eggs, pasteurized egg whites are a great alternative. They provide the same texture while ensuring safety.
-
Lemon Juice or Vinegar: A splash of acidity from lemon juice or vinegar can help stabilize the icing and prevent it from becoming too grainy. This little addition enhances both flavor and texture.
-
Water: Adjusting the water content allows you to control the icing’s thickness. For outlining details, you’ll want it thicker, while flooding your cookies requires a thinner consistency.
Simply gather these key ingredients, and you’re ready to whip up a batch of easy royal icing that will elevate your cookie decorating game to a whole new level!
Why You’ll Love This Easy Royal Icing Recipe
When it comes to decorating cookies, this easy royal icing recipe transforms basic treats into stunning masterpieces that impress amigos and family alike. Picture this: a bustling kitchen during the holidays, laughter filling the air as you and your loved ones get crafty with piping bags and vibrant colors. This royal icing isn’t just easy to make; it’s also versatile and fast-drying, allowing for creative liberty without the stress of smudged designs.
Simple Ingredients for Impressive Results
- Egg Whites: Using egg whites (fresh or powdered) helps achieve that signature glossy finish. It’s the secret ingredient that gives your icing its beautiful sheen and stability.
- Powdered Sugar: The base of your icing, it needs to be sifted before mixing to avoid lumps, providing that smooth texture you’ll love.
- Lemon Juice or Water: Whether you opt for lemon juice or water, the acidity from the lemon adds delicious flavor while helping the icing come together beautifully.
Versatile and Customizable
One of the things I adore about this easy royal icing recipe is how customizable it is. Whether you’re crafting intricate designs for wedding cookies or simple outlines for your kids’ birthday treats, this icing adapts effortlessly. Want a pop of color? Just add food coloring! There’s something magical about watching your creations come to life, and with this recipe, you’ll feel like a decorating pro in no time. Enjoy the journey as much as the results!

Variations for Your Royal Icing
Imagine sitting down to decorate cookies with friends or family, and you find yourself with an array of colors and textures, all thanks to your easy royal icing recipe. The beauty of this icing is its versatility, allowing you to create unique designs that elevate your cookie game to royal status.
Brighten Up with Gel Food Coloring
One of the simplest ways to personalize your royal icing is through gel food coloring. Unlike liquid dyes, gel food coloring provides vibrant hues without compromising the icing’s consistency. A few drops of your favorite colors can transform plain icing into a festive masterpiece that matches any occasion.
Flavor Variations
Why stick to plain vanilla when you can add a burst of flavor? Incorporate extracts like almond, lemon, or even peppermint into your easy royal icing recipe. Just a teaspoon can add a delightful twist, making your cookies not only visually appealing but also deliciously inviting.
Texture Tweaks
Have a specific design in mind? Adjust the consistency of your royal icing for different techniques. For detailed piping, aim for a thicker icing, while a more fluid mix works well for flooding cookies. Don’t hesitate to experiment until you find the perfect balance for your decorating style.
Incorporating these variations will undoubtedly make every batch of royal icing uniquely yours, turning simple cookie decorating into an expression of creativity and taste!
Cooking Tips and Notes for Perfect Royal Icing
Creating the perfect royal icing is an art, and with this easy royal icing recipe, you’re well on your way to making your cookie decorating dreams a reality. As someone who’s spent countless hours experimenting with different icing techniques, I’ve gathered a few insightful tips that can elevate your icing game.
Achieving the Right Consistency
The key to flawless royal icing lies in getting the right consistency. You want it to be thick enough to hold its shape when piped but still fluid enough to spread smoothly. Think of toothpaste—thicker for outlines and slightly thinner for flooding. Remember to do the “8-second rule”: if you can draw a figure eight with your icing, you’re good to go!
Storage Matters
If you have leftover icing, don’t fret! Simply store it in an airtight container, with a piece of plastic wrap directly touching the surface to prevent it from crusting. To revive it later, just give it a quick stir and a splash of water if necessary. This prevents wastage and keeps decoration easy!
Be Patient
While royal icing dries quickly, it requires patience when layering colors. Allow each layer to dry completely before adding more designs on top. This might take a few hours but trust me, the end result is well worth the wait.
With these tips and your easy royal icing recipe, you’re all set to create beautifully decorated cookies that will impress everyone at your next gathering. Happy decorating!
Serving Suggestions: How to Use Your Royal Icing
Using your easy royal icing recipe opens the door to a world of creative possibilities when decorating your favorite cookies. Whether you’re preparing for a festive occasion or simply indulging in a fun baking day, your options are endless!
Create Decorative Patterns
Let your creativity shine by piping delicate lace designs on cookies. Use a fine piping tip for intricate details that catch the eye. It’s a charming way to elevate even the simplest of cookies.
Cookie Flooding Technique
Flooding is a fantastic technique for achieving smooth, glossy coatings. Thin your royal icing slightly with water and outline your cookies first. Once set, fill in the centers for a stunning, uniform look.
Fun with Colors
Don’t shy away from using food coloring! Create a rainbow of hues to match any theme or event. Mix colors carefully to achieve the desired shades and elevate your cookie decorations.
Write Messages
Royal icing is perfect for personalizing cookies with sweet messages or greetings. This can be especially lovely for weddings, birthdays, or holidays. Practice your lettering skills for a delightful touch!
With your easy royal icing recipe, every cookie can become a masterpiece!
Time Breakdown for Easy Royal Icing
Creating the perfect easy royal icing recipe can be a delightful addition to your cookie decorating routine. Understanding the time involved makes the process even simpler.
Preparation Time
In just about 5 minutes, you can gather all your ingredients and set everything up. Remember, having everything organized helps keep the workflow smooth!
Mixing Time
Once you’ve prepped, mixing the ingredients takes around 10 minutes. You’ll watch your bowl transform as you combine the powdered sugar, egg whites, and any flavorings you choose.
Total Time
Altogether, you’re looking at approximately 15 minutes from start to finish. This quick process means more time to enjoy your beautifully decorated cookies!
Nutritional Facts for Royal Icing
When creating your easy royal icing recipe, it’s essential to consider its nutritional aspects, especially if you’re crafting treats for a special occasion. Understanding the calories and sugar content can help you gauge how this sweet glaze fits into your overall dietary goals.
Calories
A typical serving of royal icing (approximately 1 tablespoon) contains about 50 calories. While it’s primarily used for decorating, indulging in a little bit won’t derail your diet, especially if you’re enjoying your cookies in moderation.
Sugar Content
The sugar content in royal icing is significant, with each tablespoon boasting around 9 grams of sugar. This is essential for achieving that delightful sweetness and the perfect shine. Remember, the deliciousness of your cookies often lies in the balance of flavors, and the sweet touch of royal icing can elevate your baking experience.
FAQs about Easy Royal Icing
When you decide to try your hand at an easy royal icing recipe, it’s natural to have questions pop up along the way. I’ve been there, diving into the world of cookie decorating, where precision meets creativity. To help you navigate this sweet territory, here are some common queries I’ve encountered.
Can I use liquid egg whites instead of fresh?
Yes, you can absolutely use liquid egg whites! They are a great substitute and offer the same consistency as fresh egg whites. Just be sure to check the package for the equivalent amount—approximately 2 tablespoons of liquid egg whites typically equals one large egg white. This option can save you time and hassle, especially on busy baking days.
How do I store my royal icing?
Storing your easy royal icing properly ensures it stays fresh for your next decorating escapade. If you have leftover icing, keep it in an airtight container at room temperature for up to 24 hours. For longer storage, you can place it in the fridge for about a week. Just remember to give it a gentle stir before using it again, as separation might occur.
What can I do if my icing is too thick?
If you find your icing is turning out a bit thicker than you’d like, don’t worry—it’s an easy fix! Simply add a few drops of water (or lemon juice for a hint of flavor) to loosen it up. Mix thoroughly until you’ve achieved your desired consistency. Remember, the ideal royal icing should be thick enough to hold its shape but fluid enough to flow smoothly when you apply it.
By answering these questions, I hope to empower you on your cookie-decorating journey with this easy royal icing recipe. Happy baking!
Conclusion on Easy Royal Icing Recipe
Wrapping up our journey through this easy royal icing recipe, it’s clear that a delightful decorating experience lies within reach for everyone, regardless of baking experience. With just a handful of ingredients—egg whites, powdered sugar, and a splash of lemon juice—you can create a sweet canvas that brings your cookies to life. The beauty of this icing is its versatility; whether you’re crafting intricate designs or simply outlining shapes, the smooth texture and glossy finish make every cookie a work of art. So grab your piping bags, unleash your creativity, and make your cookie decorating dreams a reality!
Print
Merengue Icing
- Total Time: 15 minutes
- Yield: 4 cups 1x
- Diet: Vegetarian
Description
Delicious and easy merengue icing for all your baking needs!
Ingredients
Scale
- 3 oz egg whites
- 1 tbsp vanilla extract
- 2 pounds powdered sugar
Instructions
- Separate 6 eggs into 2 bowls. Weigh the whites until you have 3oz. Try not to go over by too much, remove any extra and discard aside the yolks and use for lemon curd or homemade mint chocolate chip ice cream!
- In the bowl of an electric mixer, with a whisk attachment, mix the whites with 1 tablespoon of vanilla extract until frothy, don’t mix too long!
- Slowly add in 2 pounds of powdered sugar and mix until well combined.
- Turn mixer up to high speed and mix until stiff peaks form, 5-7 minutes. Don’t want to overbeat, so check it often for peaks! Note: The mix will be VERY thick after adding the powdered sugar – that’s normal.
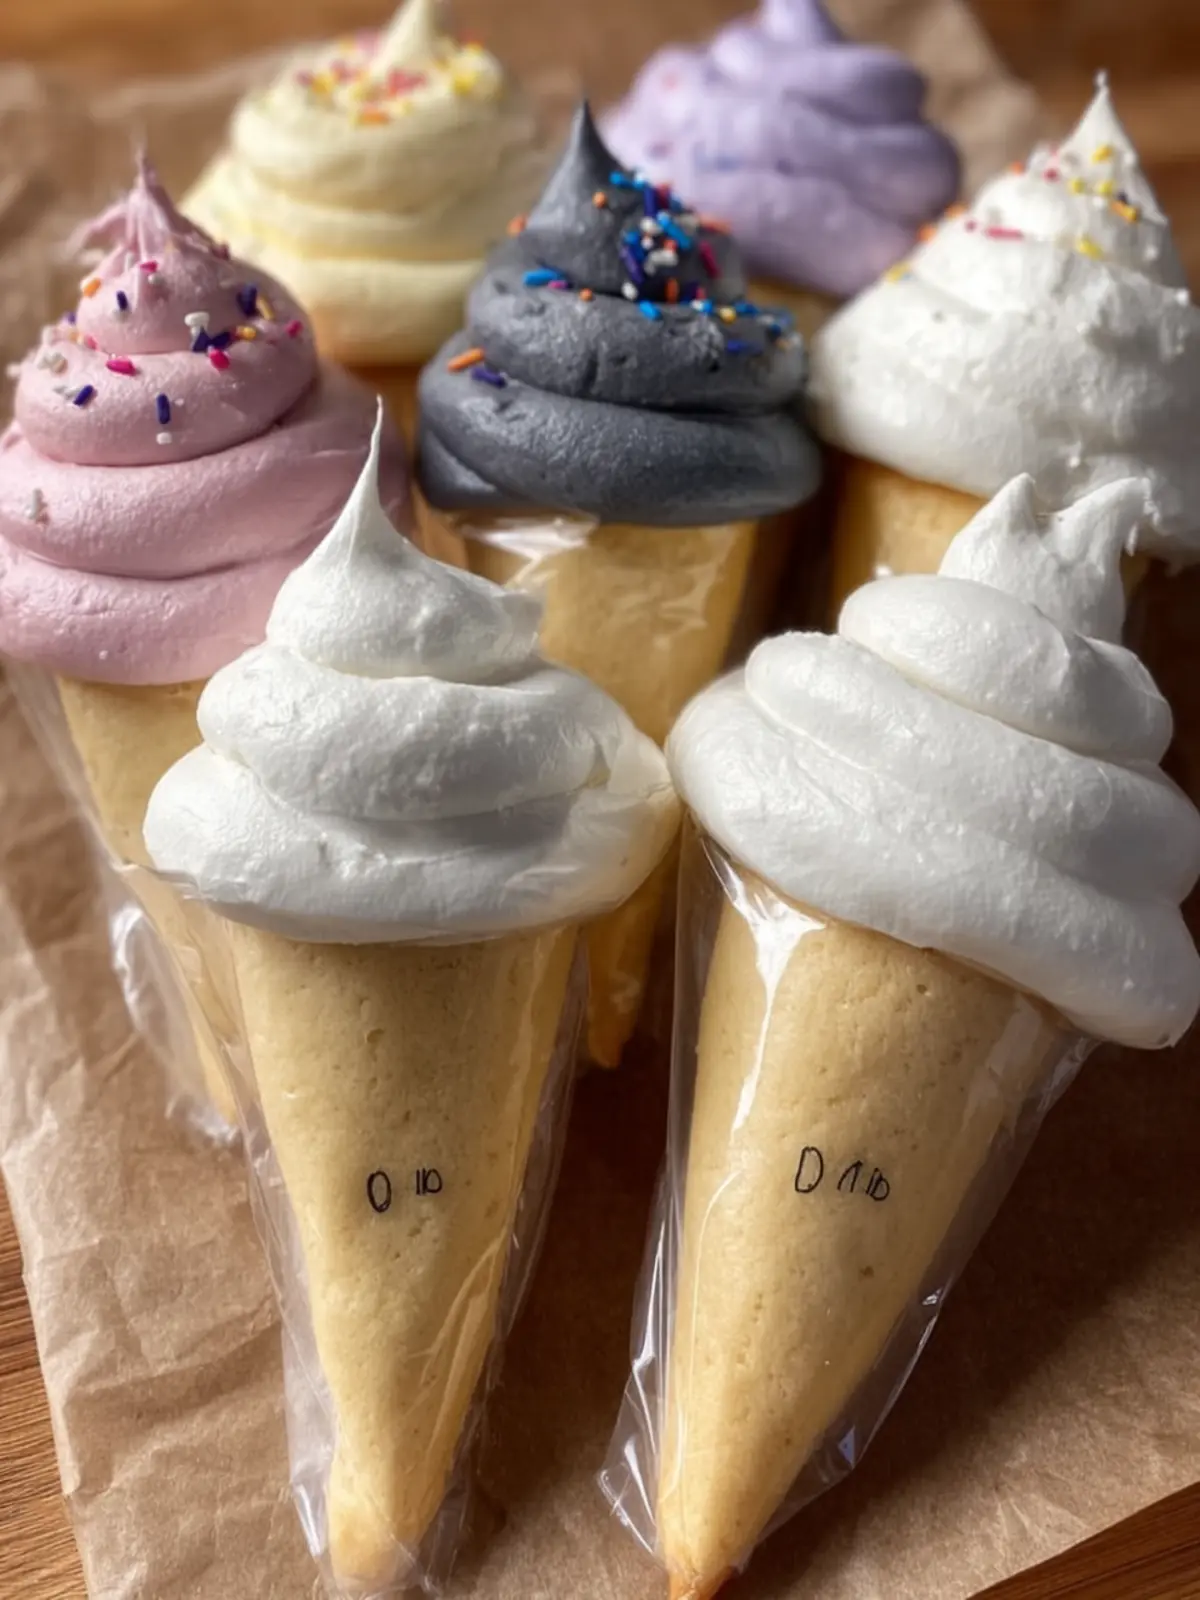
- Remove whisk from icing and cover bowl with 3 layers of wet paper towels (not dripping wet, but soaked and rung out). This will keep the icing from drying out while you are mixing your colors.
- Working with 1/2 – 1 cup of icing at a time, and keep the wet paper towels covering the mixing bowl, add coloring to the desired color.
- Add water to reach the right consistency, then fill a piping bag and DO NOT cut the end until all your colors are ready!
Notes
- This icing is perfect for decorating cakes and cupcakes.
- Make sure to not overbeat the egg whites to maintain the right texture.
- For vibrant colors, use gel food coloring.
- Prep Time: 15 minutes
- Category: Dessert
- Method: Mixing
- Cuisine: American
Nutrition
- Serving Size: 1 cup
- Calories: 400
- Sugar: 390g
- Sodium: 5mg
- Fat: 0g
- Saturated Fat: 0g
- Unsaturated Fat: 0g
- Trans Fat: 0g
- Carbohydrates: 100g
- Fiber: 0g
- Protein: 1g
- Cholesterol: 0mg