Follow Me On Social Media!


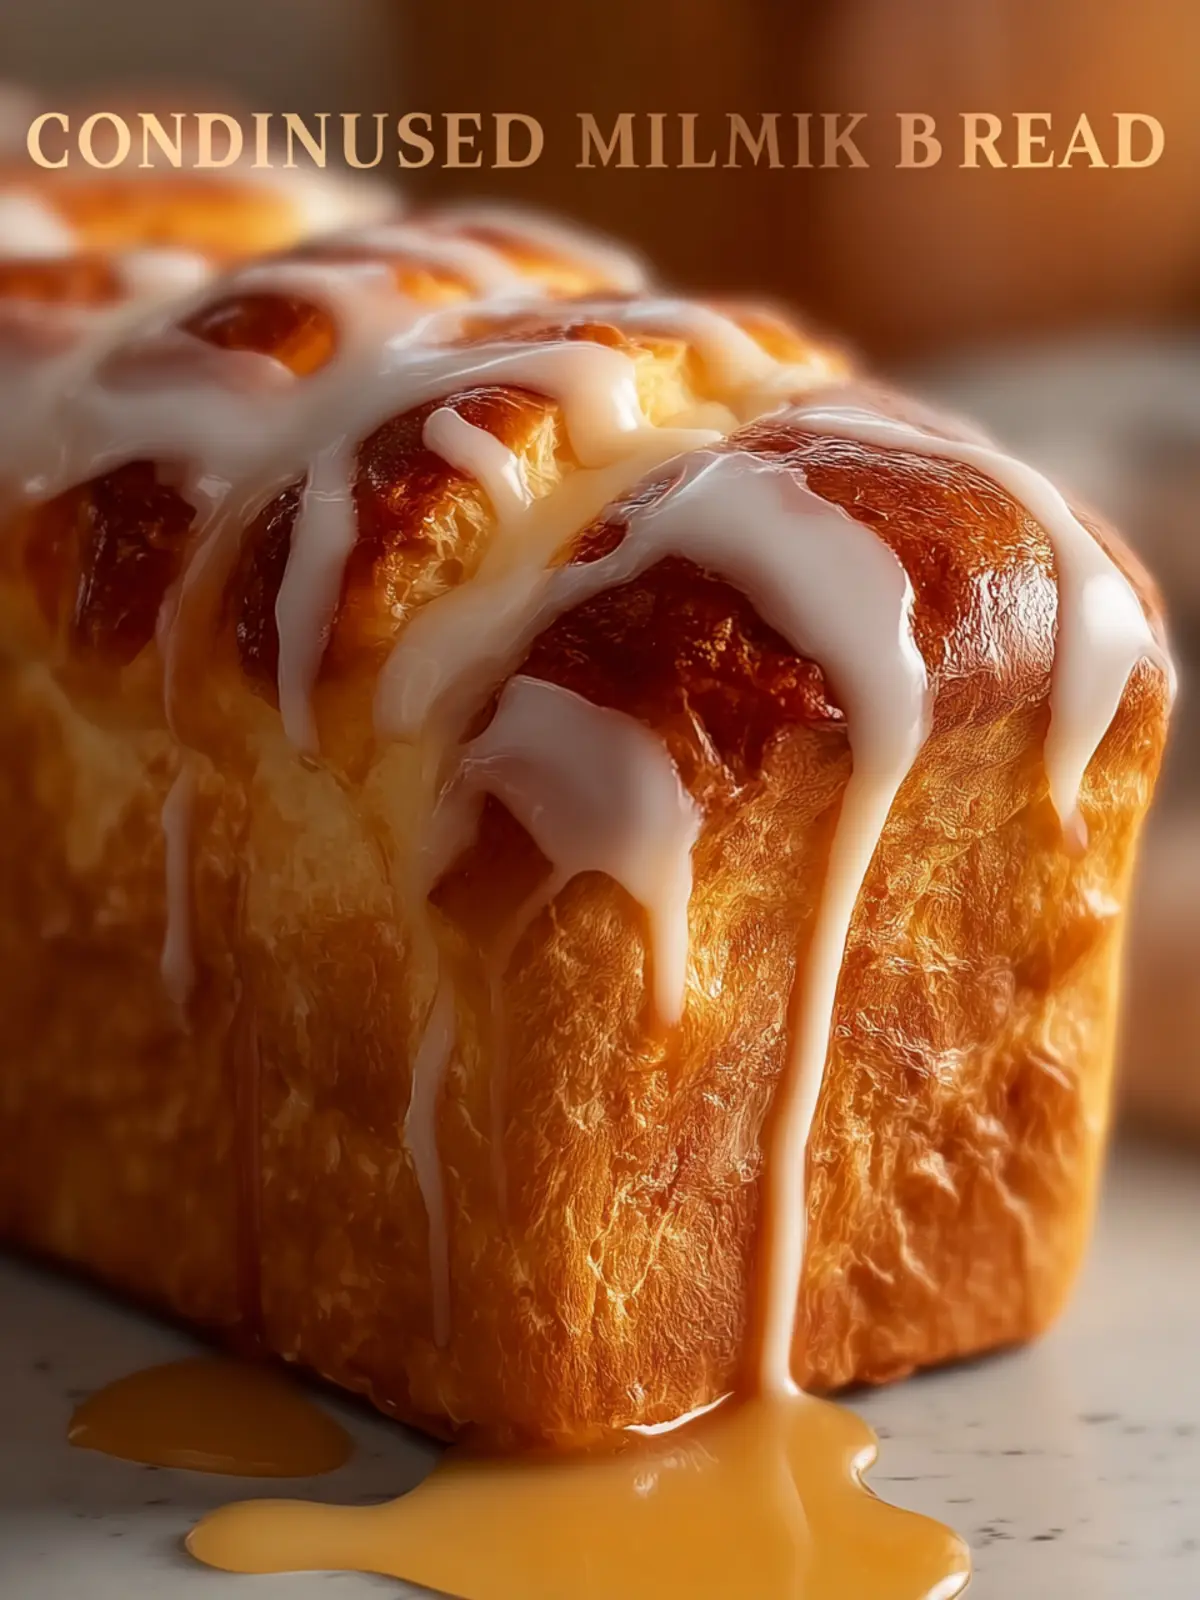
Condensed Milk Bread: The Best Gooey Treat You’ll Ever Bake
Introduction to Condensed Milk Bread
Imagine the fragrance of freshly baked condensed milk bread wafting through your kitchen, wrapping you in the comforting embrace of sweetness. This delightful bread isn’t just a treat; it’s a celebration of simple ingredients transformed into a mouthwatering masterpiece. The first time I tried condensed milk bread, it was an unexpected discovery that forever changed my perception of bread. The soft, tender crumb, combined with a subtle sweetness, left me craving more.
What’s truly magical about condensed milk bread is its versatility. It’s perfect for breakfast, as a snack, or even as an indulgent dessert. Picture spreading a layer of butter on a warm slice or pairing it with your favorite fruit preserves. The rich, creamy flavor of condensed milk elevates the bread, making every bite a little slice of heaven.
But what makes this bread truly irresistible?
What makes condensed milk bread irresistible?
-
Sweetness and Flavor: The inclusion of condensed milk infuses the bread with a natural sweetness that complements its buttery notes. Unlike regular sugar, condensed milk adds a rich creaminess that can’t be matched.
-
Tender Texture: Thanks to the unique properties of condensed milk, this bread has a tender, soft crumb that practically melts in your mouth. It’s inviting and comforting, making it the ultimate treat for any occasion.
-
Versatile Uses: Whether you toast it for breakfast, use it for decadent French toast, or serve it alongside a hot cup of tea, condensed milk bread adapts beautifully to any meal or moment.
-
Easy to Make: With a handful of simple ingredients, you can create this delicious bread in your own kitchen. It’s perfect for novice bakers who want to impress their friends and family.
So, ready to give condensed milk bread a try? Trust me, once you experience the joys of this delectable bread, it will quickly become a beloved staple in your home. The warmth it brings not just to your kitchen, but also to your heart, is something not to be underestimated.
Key Ingredients for Condensed Milk Bread
Baking condensed milk bread is a delightful journey that starts with the perfect blend of simple ingredients. Each component plays a vital role in creating that soft, fluffy texture you crave. Let’s explore what you’ll need to whip up this delicious treat!
Flour: All-purpose flour is your best friend here. It provides the structure for the bread while keeping it tender. Make sure to measure accurately—too much flour can lead to a dense loaf.
Instant Yeast: Using instant yeast means you won’t have to wait long to see that dough rise. It’s convenient and helps create a light and airy texture.
Sugar: A bit of sugar in the dough adds sweetness and enhances the flavor of the bread. It also helps in browning the crust as it bakes.
Salt: Just a pinch of salt is crucial; it balances the sweetness and brings out the flavors of the other ingredients.
Eggs: Eggs contribute richness and help in creating a golden color for your condensed milk bread. They also aid in binding the ingredients together.
Warm Milk: Warm milk helps the yeast activate quickly, plus it adds a lovely richness to the dough.
Sweetened Condensed Milk: This is the star of the show! Its sweetness and creamy texture create a subtly sweet and moist bread that’s hard to resist.
Unsalted Butter: Butter adds depth of flavor and moisture. It should be softened to blend easily with the other ingredients, ensuring a rich loaf.
Egg Wash: A simple egg wash brushed on the surface before baking gives the bread a beautiful, shiny finish and an appealing golden crust.
Optional Glaze: If you want to take this condensed milk bread to the next level, consider a light glaze on top after it cools to enhance its sweetness.
By sourcing these ingredients thoughtfully, you’ll create a wonderful loaf of condensed milk bread that’s perfect for breakfast or a sweet snack. Enjoy the baking experience, and most importantly, the delightful aroma that will fill your kitchen!
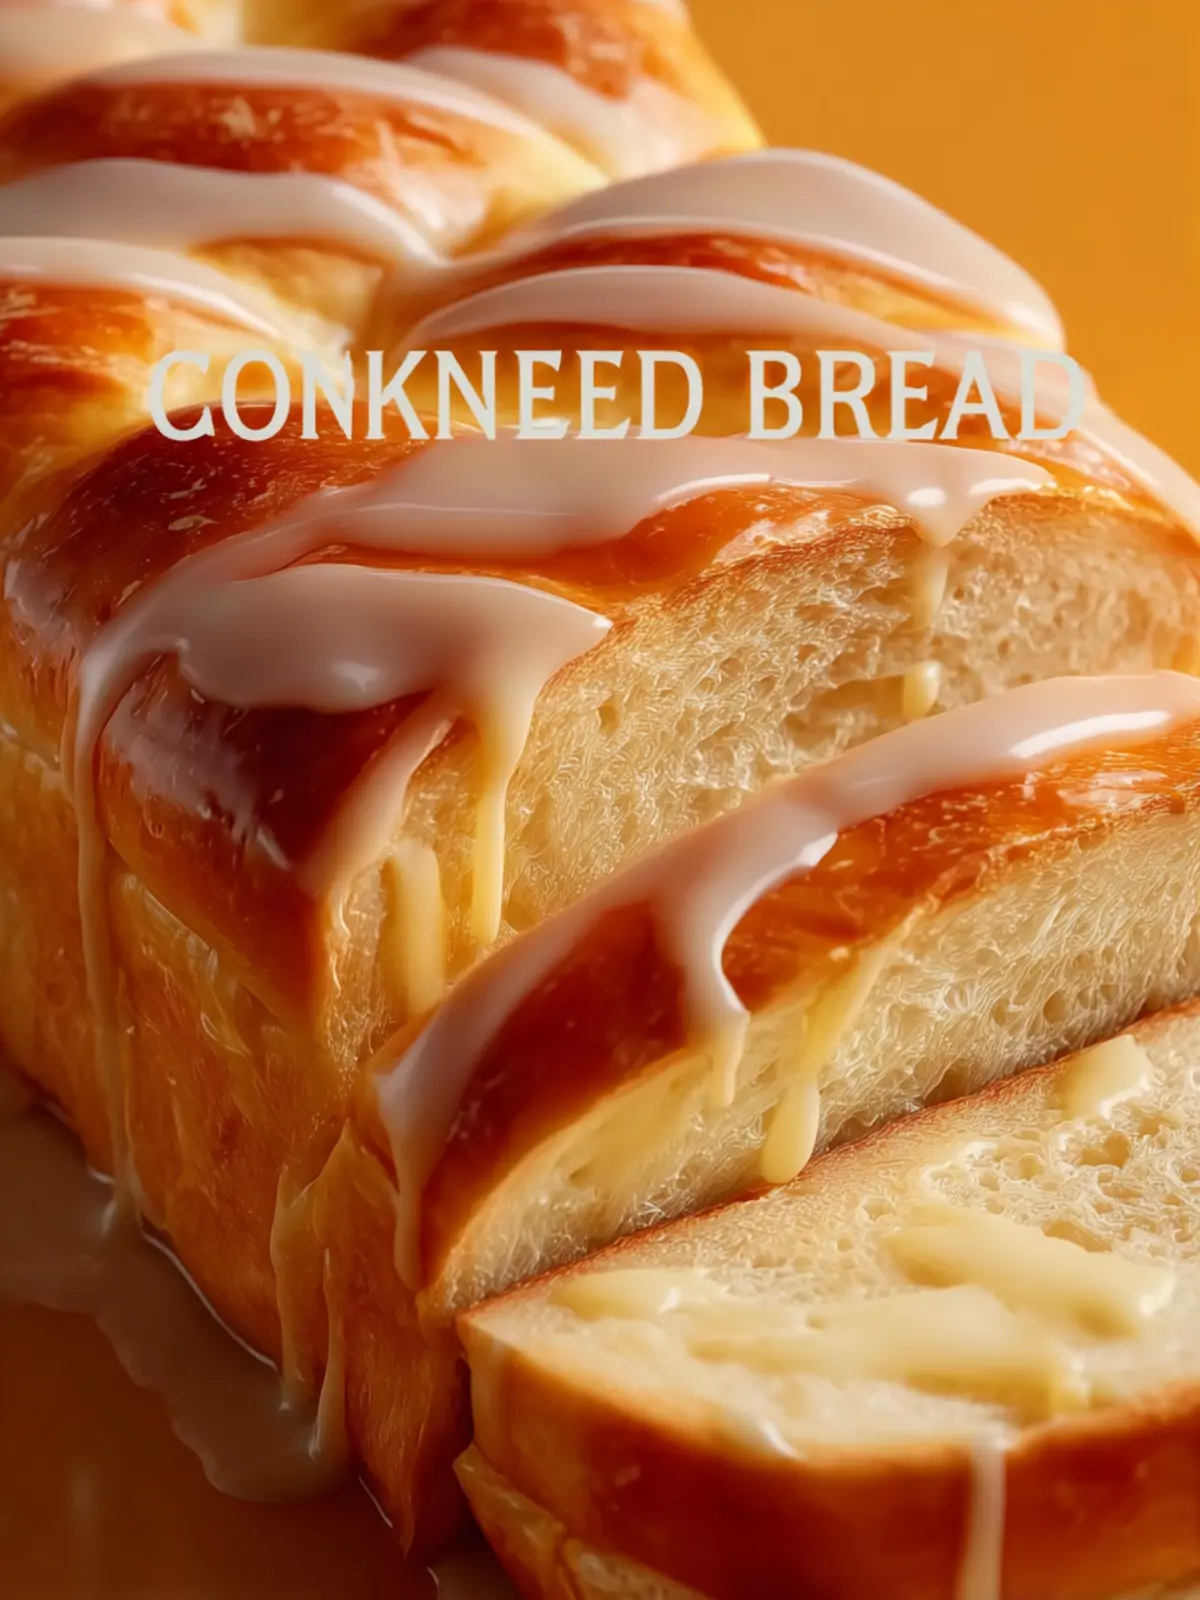
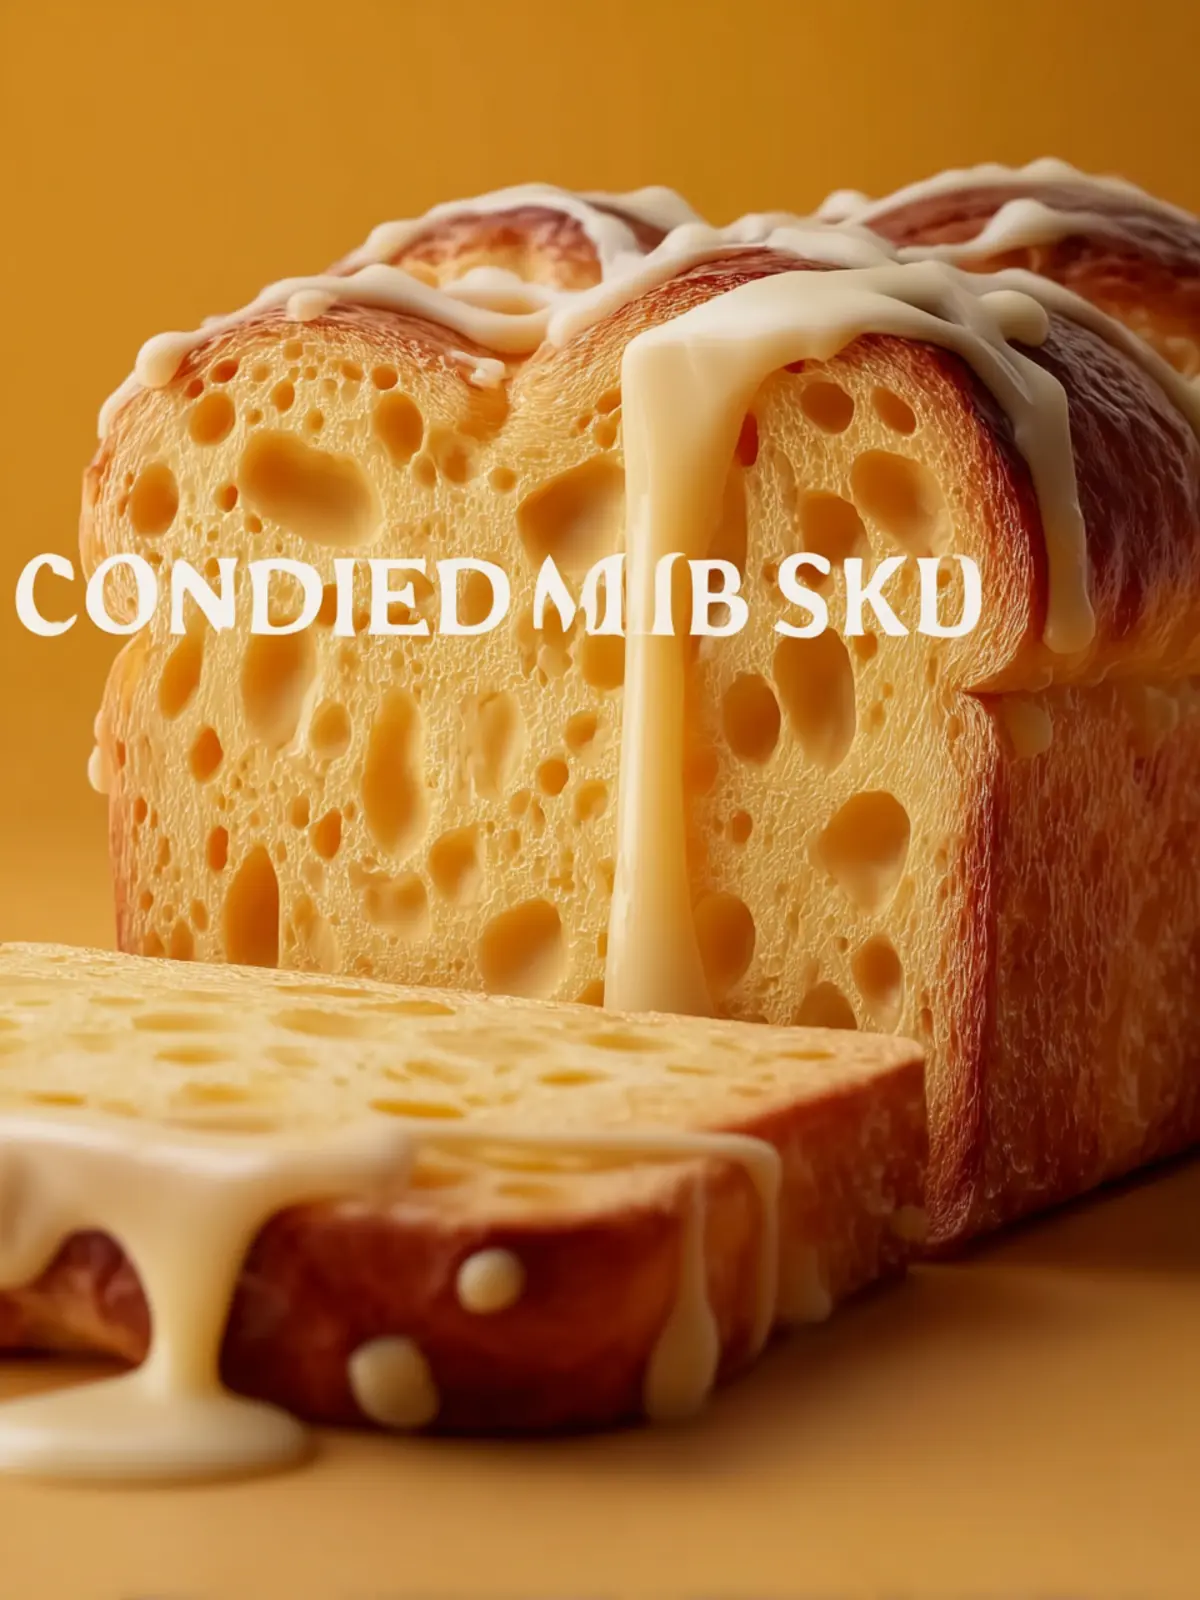
Why You’ll Love This Condensed Milk Bread
Imagine a loaf of condensed milk bread fresh from the oven, filling your kitchen with an irresistible sweetness that draws everyone to the table. This bread isn’t just another carb addition; it’s a cozy hug in baked form. You’ll find that it has a warm, creamy texture that makes each slice soft and delightful, perfect for breakfast or a sweet afternoon snack.
One of the standout features of this condensed milk bread is its versatility. Whether you enjoy it simply slathered with butter, topped with fruits, or incorporated into your favorite sandwich, it elevates even the simplest meal.
The ingredient list contributes to its unique flavor:
- Condensed Milk: This is the magic ingredient, giving the bread its signature sweetness and richness. It adds moisture and enhances the flavor profile, making every bite a genuine treat.
- Flour: All-purpose flour creates a soft and fluffy crumb. It’s the base that ensures that luscious texture.
- Yeast: The rising agent that brings the bread to life, resulting in a light, airy structure.
- Eggs & Butter: Together, they provide richness and enhance the overall flavor, rounding out that wonderful homemade taste.
With condensed milk bread, you’ll discover a delightful blend of nostalgia and innovation that makes every slice memorable.
Cooking Tips and Notes for Condensed Milk Bread
Embarking on a journey to bake condensed milk bread is a delightful experience that brings warm, sweet aromas to your kitchen and creates a loaf that feels like a hug in bread form. To ensure you achieve the perfect texture and taste, here are some essential tips and notes to keep in mind.
Choosing the Right Ingredients
- Condensed Milk: This is the star ingredient, so opt for high-quality sweetened condensed milk. A good brand will contribute to your bread’s rich flavor and tenderness.
- Flour: All-purpose flour is ideal for this recipe, providing the right balance of protein and carbs. If you prefer, you can experiment with bread flour for a heartier texture.
- Yeast: Fresh yeast works wonders, but if you’re using dry yeast, ensure it’s active by proofing it in warm water before adding it to the mix.
Perfecting Your Proofing Time
Letting the dough rise properly is crucial for achieving that fluffy, soft condensed milk bread. Be patient during the first rise; it typically takes about 1 to 2 hours in a warm environment. If you’re short on time, placing the dough in a warm oven (turned off) can speed things up.
Baking Tips for Success
- Oven Temperature: Preheat your oven thoroughly before baking. A well-heated oven ensures that your bread rises beautifully and develops that golden crust.
- Cooling Time: Allow the bread to cool in the pan for about 10 minutes before transferring it to a wire rack. This avoids soggy bottoms and helps maintain its structure.
Baking condensed milk bread at home is not only about following the recipe; it’s about enjoying the process. With these tips, each slice will be a testament to your effort and love for baking. Happy baking!
Serving Suggestions for Condensed Milk Bread
Imagine slicing into a loaf of condensed milk bread, its golden crust cracking lightly beneath your fingers, releasing an inviting warmth and a sweet aroma. This versatile bread can be enjoyed in countless ways, making it a delightful addition to any meal or gathering.
Breakfast Bliss
Start your day right by toasting slices of your condensed milk bread. Slather on a generous layer of butter or cream cheese for a rich, satisfying breakfast. Pair it with fresh fruits like strawberries or bananas for a delightful balance of sweetness and freshness.
Snack Attack
Need a quick afternoon snack? Try spreading peanut butter or Nutella on a slice for a quick energy boost. You could even add a sprinkle of cinnamon or drizzle of honey for an extra touch of flavor.
Dessert Delight
Don’t overlook its potential as a dessert! Serve warm slices with a scoop of vanilla ice cream and a drizzle of chocolate or caramel sauce. This easy dessert will impress your guests and leave them asking for seconds.
With condensed milk bread, the possibilities are deliciously endless!
Time Breakdown for Condensed Milk Bread
Making condensed milk bread is not just about enjoying the final product; it’s about savoring the journey to get there. Here’s a quick rundown of the time you’ll need to dedicate to crafting this delicious treat, making it easier to plan your baking session.
Preparation Time
Gathering your ingredients and mixing the dough takes approximately 20 minutes. It’s a great time to enjoy your favorite podcast or get in the zone with some music.
Rising Time
Letting the dough rise is crucial for that fluffy texture. Expect this to take about 1 hour. Just enough time to take a well-deserved coffee break!
Baking Time
Once your dough is ready, pop it in the oven for about 30 minutes. The aroma wafting through your kitchen will become irresistibly tempting.
Cooling Time
Allow the baked condensed milk bread to cool for 10-15 minutes. This short wait ensures perfect slicing and enhances the taste.
Total Time
So, in total, you’re looking at approximately 2 hours to make this delightful bread from start to finish. Happy baking!
Nutritional Facts for Condensed Milk Bread
Understanding the nutritional makeup of your condensed milk bread is key to enjoying it guilt-free. This deliciously sweet and soft bread can be a fantastic addition to your breakfast or a delightful treat with tea.
Calories
A serving of condensed milk bread typically boasts around 250 calories. It’s a satisfying slice that delivers comfort and a touch of sweetness, making it a great option for both mornings and afternoons.
Protein
This bread provides approximately 6 grams of protein per slice. While it’s not a massive source, every bit helps when you’re pairing it with protein-rich toppings like peanut butter or eggs.
Carbohydrates
With about 38 grams of carbohydrates, this bread is a fantastic energy booster. It’s ideal for powering through your busy day or fueling up before a workout.
Sugar
On average, you’ll find about 10 grams of sugar in a slice of your homemade condensed milk bread. This sweetness comes from the condensed milk itself, enhancing the bread’s flavor while keeping it less sugary than many store-bought pastries.
By understanding these nutritional facts, you can better appreciate each delicious slice of condensed milk bread and the role it plays in your diet.
FAQ about Condensed Milk Bread
When you dive into the delightful world of condensed milk bread, a sea of flavors and textures awaits you, making it an exciting addition to your baking repertoire. Here are some frequently asked questions that can help you navigate this delicious bread further.
Can I use regular milk instead of warm milk?
Absolutely! While warm milk works wonders in activating the yeast and enhancing the bread’s rise, you can swap it for regular milk if that’s what you have on hand. Just be aware that using cold milk may slow down the yeast activation process slightly, so let the mixture sit a little longer.
What can I substitute for sweetened condensed milk?
If you don’t have sweetened condensed milk, you can blend one cup of evaporated milk with a cup of sugar. By gently heating this mixture, you can mimic the thickness and sweetness of condensed milk for your condensed milk bread recipe. Alternatively, coconut milk can work as a delightful dairy-free option, though it will impart a slightly different flavor.
How do I store leftover bread?
To keep your condensed milk bread fresh, wrap it tightly in plastic wrap or aluminum foil, or place it in an airtight container at room temperature. It should stay good for about 3-5 days. If you live in a humid climate, consider refrigerating to prevent mold.
Can I freeze condensed milk bread?
Definitely! To freeze, slice the bread and wrap each slice in plastic wrap before placing them in an airtight bag. This method allows you to enjoy fresh-baked flavors anytime, and it can last up to three months in the freezer.
What’s the best way to reheat it?
For the best results, reheat your condensed milk bread slices in a toaster or toaster oven for a few minutes. This method keeps the exterior crispy while making the inside delightfully warm. Alternatively, you can warm it up in the microwave for about 10-15 seconds, but keep in mind that it might lose some of its texture.
With these tips in mind, your journey into baking delicious condensed milk bread is sure to be a rewarding and tasty adventure!
Conclusion on Condensed Milk Bread
Creating delightful condensed milk bread at home is not just about baking; it’s about weaving a story of sweetness into your kitchen. The rich, velvety texture and the subtle sweetness elevate any meal or gathering, making it a comforting addition to your table.
As you embrace this recipe, remember to enjoy the process—watching the dough rise, the aroma filling your home, and the smiles it brings to those who taste it. Whether you serve it warm with butter or use it for indulgent sandwiches, this bread will become a beloved staple. Bake it with love, and let it bring joy into every bite!
Print
Pull-Apart Bread
- Total Time: 90 minutes
- Yield: 1 loaf 1x
Description
This delicious pull-apart bread is soft, fluffy, and perfect for any occasion.
Ingredients
Scale
- 3 ¼ cups all-purpose flour
- 2 ¼ teaspoons instant yeast (1 packet)
- ¼ cup granulated sugar
- ½ teaspoon salt
- 1 large egg
- ¾ cup warm milk
- ⅓ cup sweetened condensed milk
- 4 tablespoons unsalted butter, softened
- 1 egg (for egg wash)
- 1 tablespoon milk (for egg wash)
- ½ cup powdered sugar (for glaze)
- 1–2 tablespoons milk (for glaze)
- ½ teaspoon vanilla extract (for glaze)
Instructions
- Add flour, yeast, sugar, and salt to a large mixing bowl and stir to distribute the ingredients evenly.
- In a separate bowl whisk together warm milk, condensed milk, and the egg until smooth.
- Slowly pour the wet mixture into the dry ingredients while mixing with a spoon or stand mixer.
- When the dough begins to come together, add the softened butter and continue mixing until a rough dough forms.
- Knead the dough for about 8–10 minutes until smooth and elastic.
- If using a stand mixer, knead with a dough hook on medium speed. If kneading by hand, work the dough on a lightly floured surface.
- Place the dough into a lightly greased bowl and cover with a clean towel or plastic wrap. Let rise in a warm place for about 1 hour, or until it doubles in size.
- Gently press down the risen dough to release trapped air. Divide the dough into 6–8 equal pieces and roll each into a small oval or log shape.
- Arrange the pieces side by side inside a greased loaf pan to create a pull-apart style loaf.
- Cover the loaf pan loosely with a towel and allow the dough to rise again for 30–40 minutes.
- Preheat the oven to 350°F (175°C). In a small bowl whisk together the egg and milk. Brush the mixture gently across the top of the risen dough.
- Bake for 25–30 minutes until the top turns deep golden brown. If needed, cover with foil during the last 10 minutes of baking.
- Let cool in the pan for about 10 minutes, then transfer to a cooling rack. For a light glaze, whisk powdered sugar, milk, and vanilla until smooth and drizzle over the warm loaf before slicing.
Notes
- For a richer flavor, let the dough rest in the refrigerator overnight after the first rise.
- This bread is best served warm and can be reheated in the oven.
- Prep Time: 20 minutes
- Cook Time: 30 minutes
- Category: Bread
- Method: Baking
- Cuisine: American
Nutrition
- Serving Size: 1 slice
- Calories: 200
- Sugar: 8g
- Sodium: 150mg
- Fat: 7g
- Saturated Fat: 4g
- Unsaturated Fat: 3g
- Trans Fat: 0g
- Carbohydrates: 30g
- Fiber: 1g
- Protein: 4g
- Cholesterol: 50mg