Follow Me On Social Media!

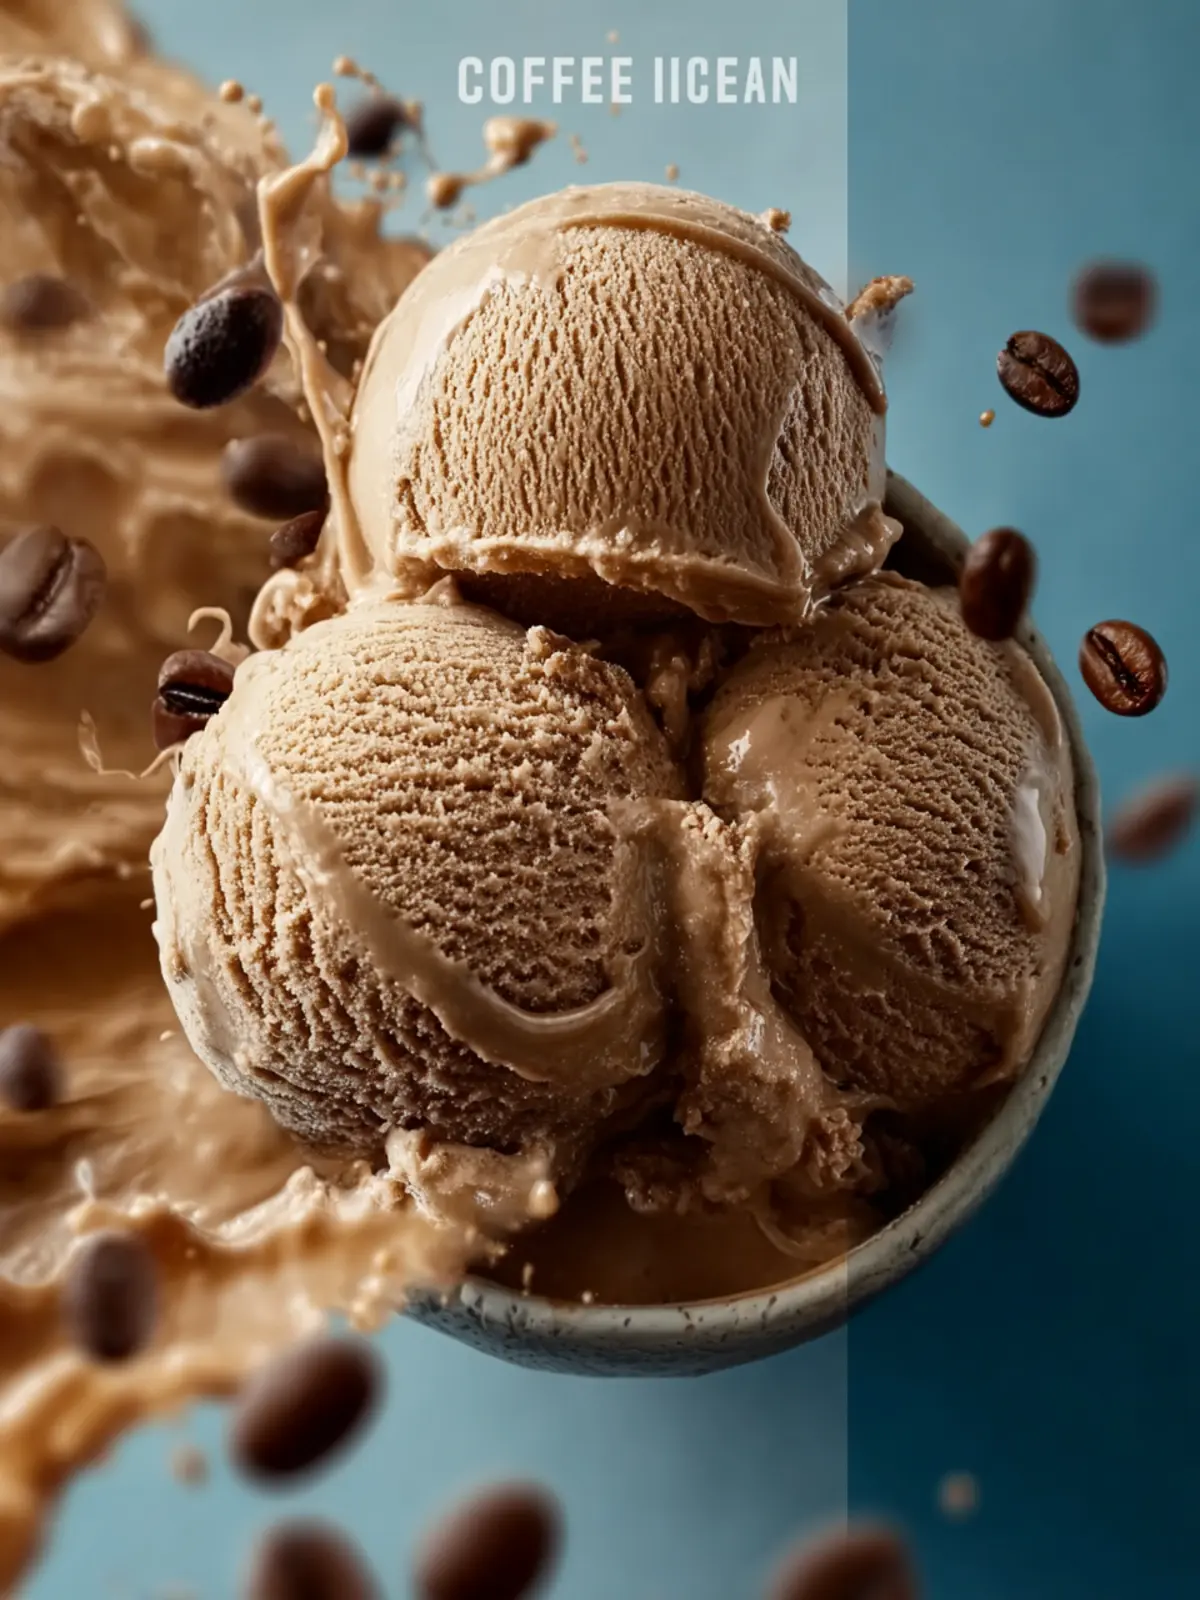
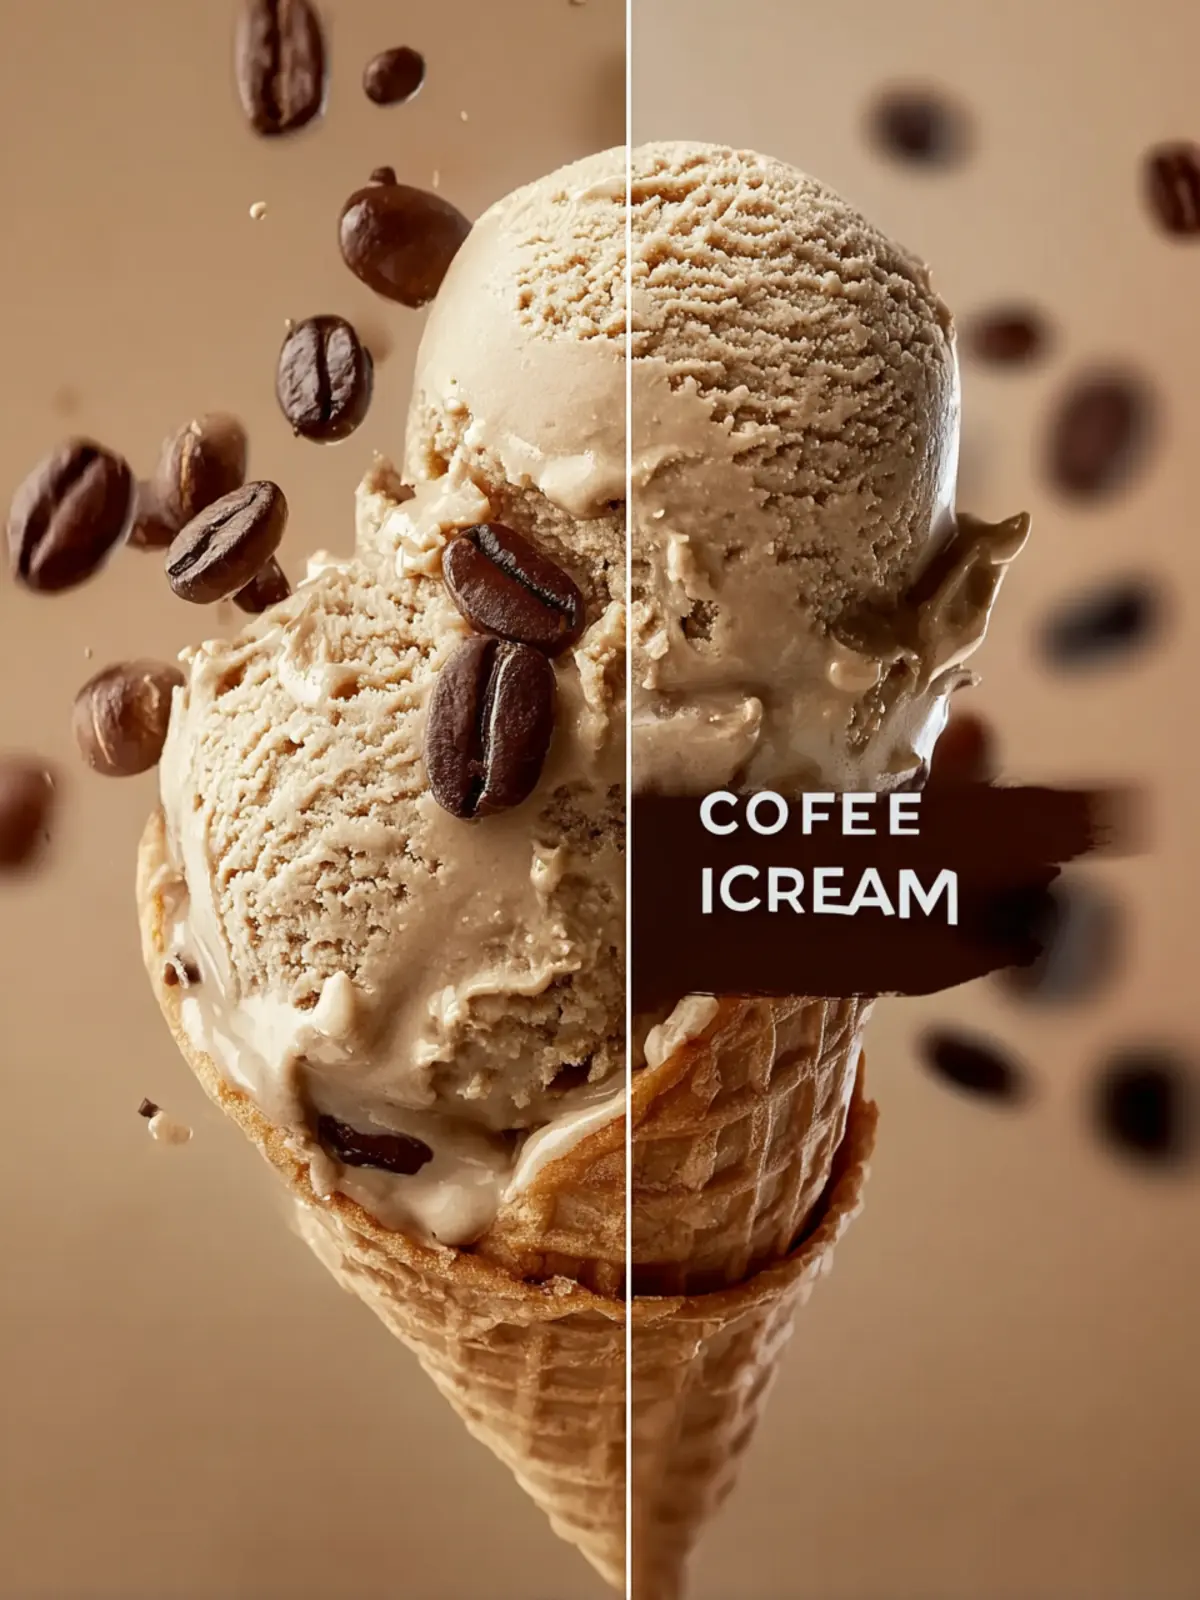
Coffee Ice Cream: Indulgent Bliss You Can Make at Home
Introduction to Coffee Ice Cream
Imagine a warm summer day, where the sun is shining, and you’re lounging on the patio, dreaming of the perfect treat to cool off. That’s where the idea of homemade coffee ice cream comes into play, transforming your typical ice cream experience into something extraordinary. Picture rich, creamy ice cream infused with the bold flavor of freshly brewed coffee, making every bite feel like a mini-vacation for your taste buds. Yes, making your own coffee ice cream is not just a culinary activity; it’s an opportunity to create a dessert infused with your personal touch.
Why settle for store-bought options laden with artificial flavors when preparing this delightful concoction at home can be incredibly simple and rewarding? What’s more, you can control every aspect of the ingredients, ensuring that only the finest elements find their way into your sweet treat.
Imagine being able to customize the sweetness level and coffee intensity, crafting a dessert that reflects your unique preferences and style. Plus, whipping up a batch of coffee ice cream can be a fantastic way to impress friends during a summer gathering or a laid-back dinner. Who wouldn’t be intrigued by a homemade ice cream that blends the beloved flavors of coffee and cream?
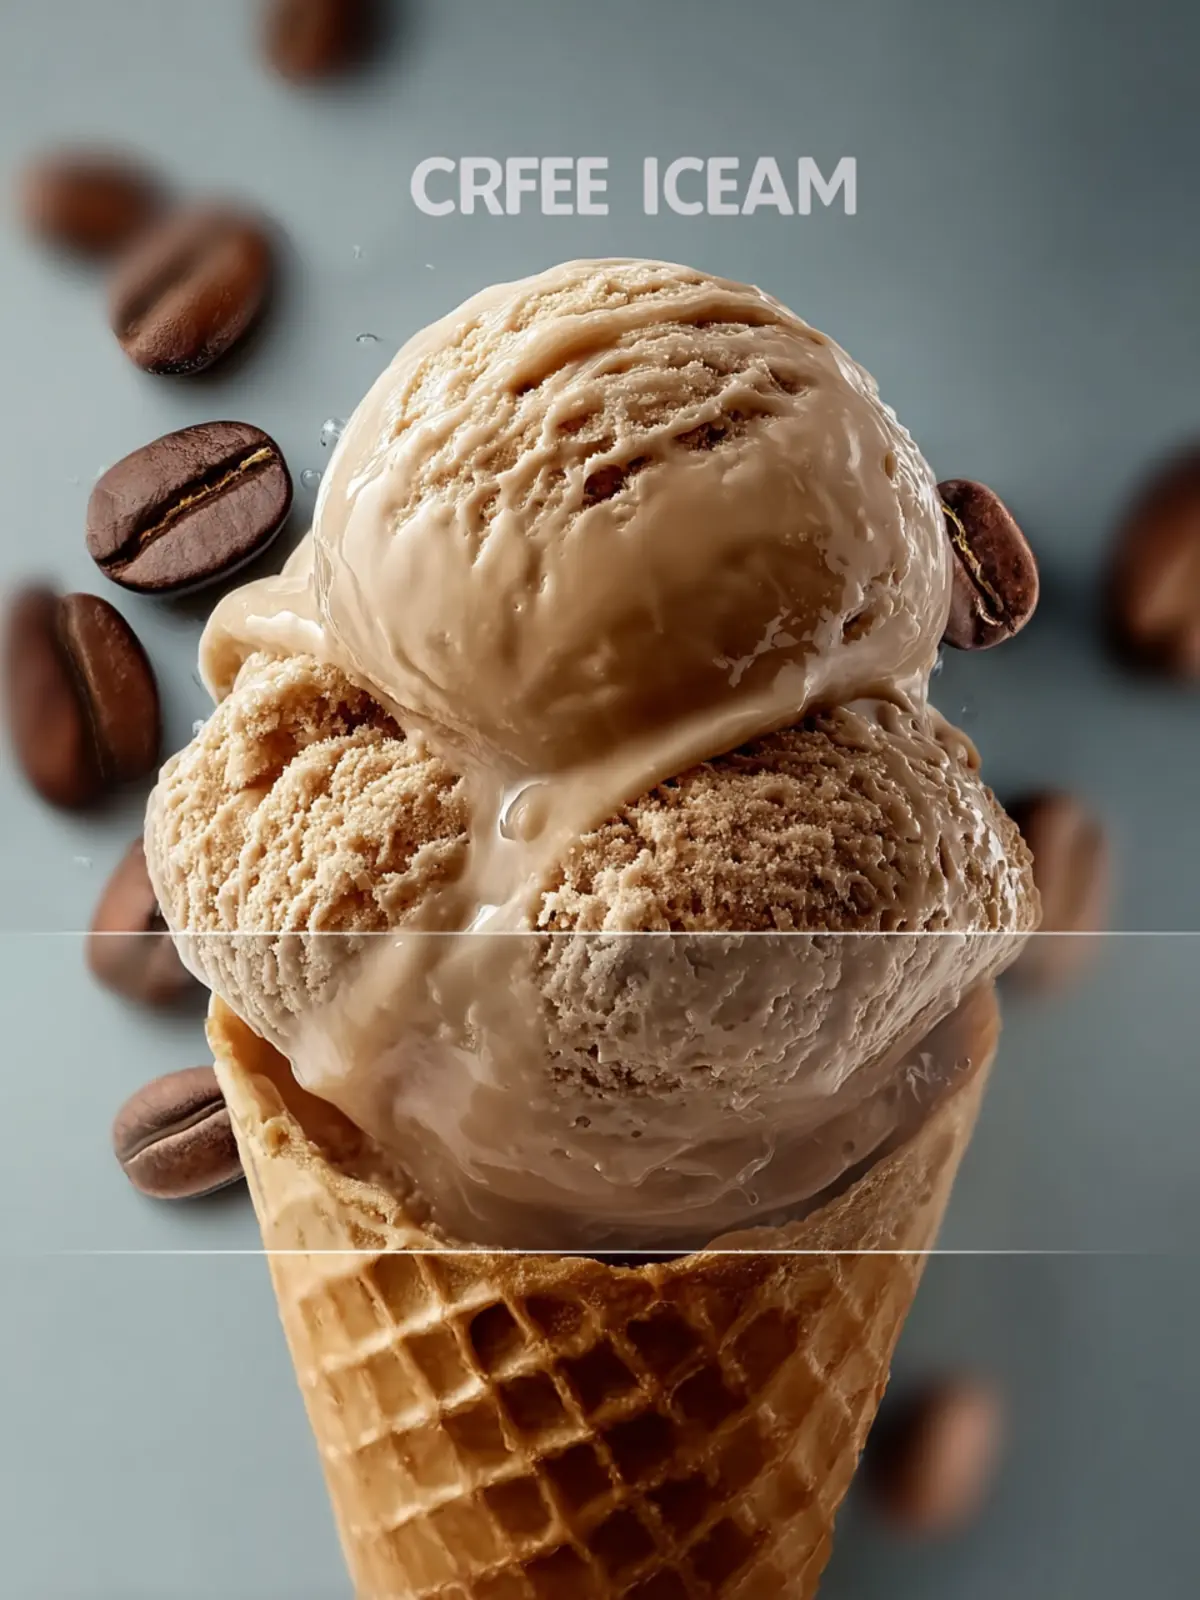
Discovering the Magic of Homemade Coffee Ice Cream
Homemade coffee ice cream is a game changer not only for its taste but also for the joy and satisfaction that comes from creating it yourself. The process allows for creativity and experimentation, making it an exciting addition to your culinary repertoire. You can explore different kinds of coffee – whether you want to showcase the nutty notes of a light roast or the deep, rich flavors of a dark blend.
As you dive into the recipe, you’ll find it’s much easier than you might think. The result is a creamy dessert that’s a crowd-pleaser, perfect for those hot summer days or cozy nights in. With just a few ingredients and a little patience, you’ll have an indulgent homemade coffee ice cream ready to serve in no time. So, grab your favorite coffee blend and let’s get started on crafting this delectable delight!
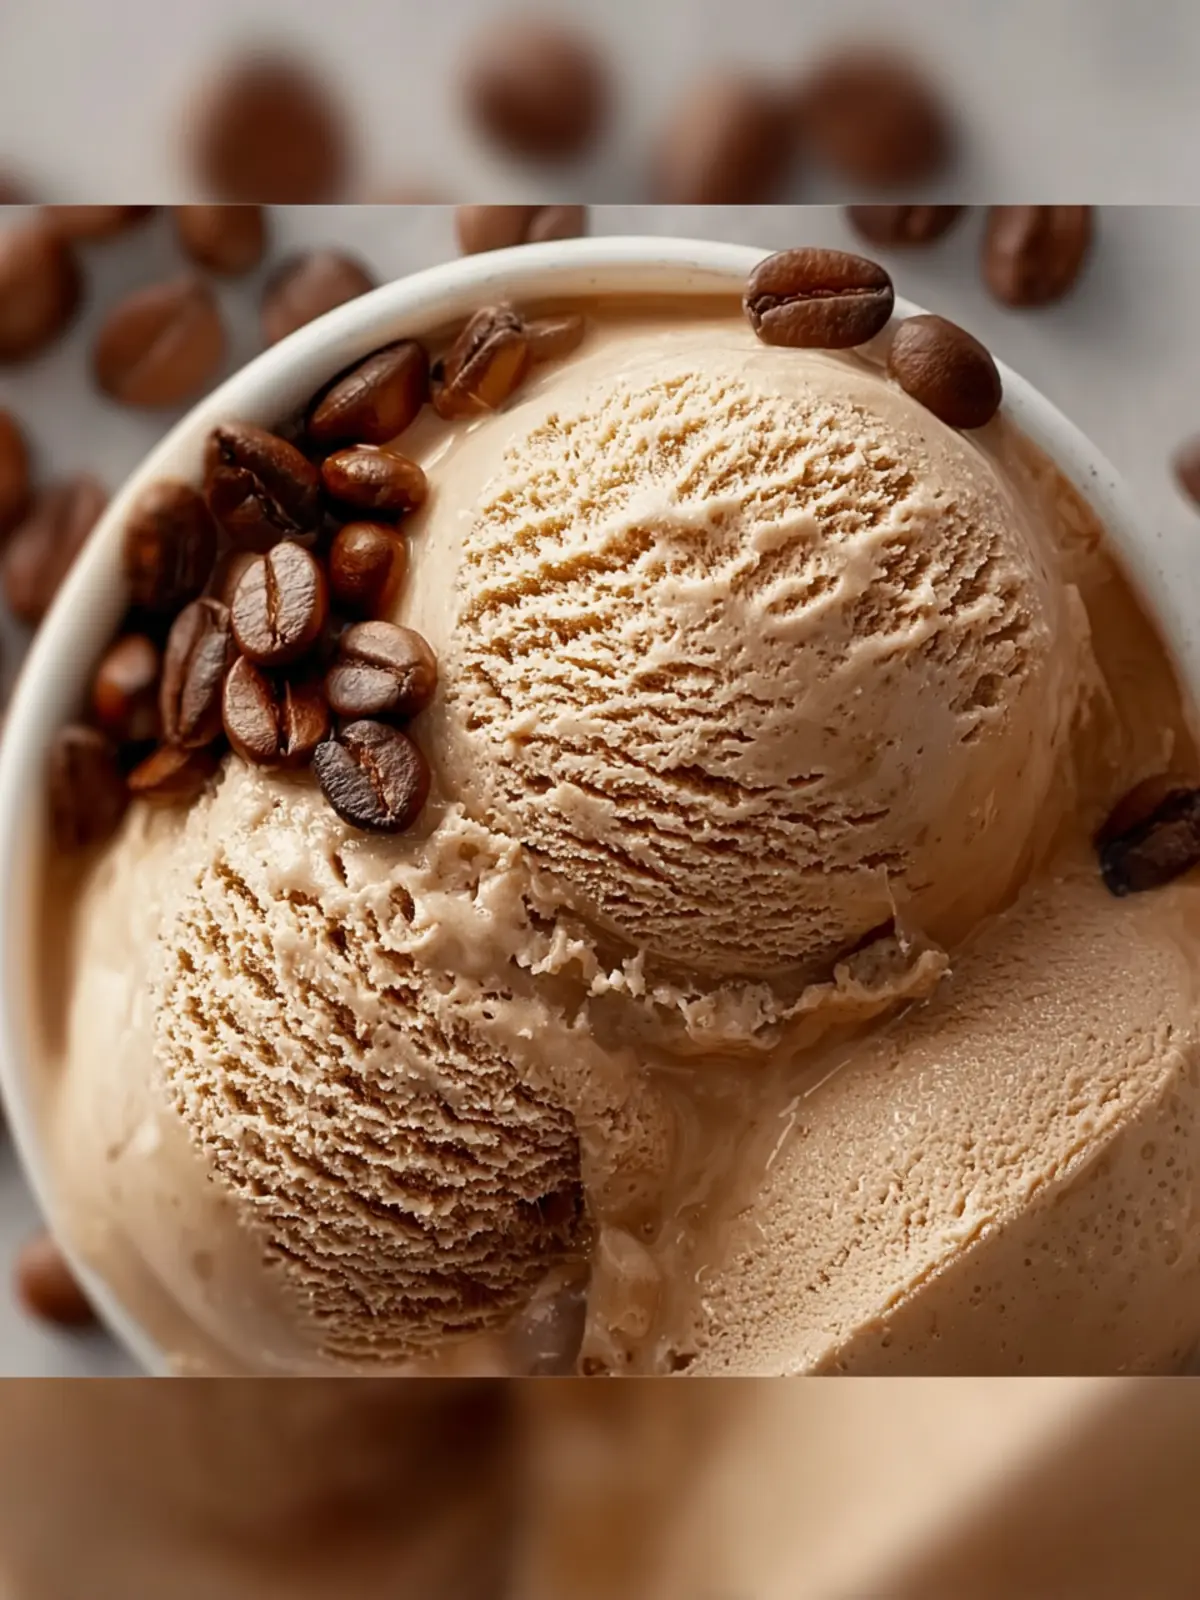
Key Ingredients for Coffee Ice Cream
Creating smooth, luxurious coffee ice cream in your kitchen can be a delightful adventure. Let’s dive into the key ingredients that will elevate your homemade ice cream experience.
-
Coffee: The star of our show! I recommend using high-quality coffee beans for the richest flavor. Whether you prefer a dark roast for a bold taste or a medium roast for a more balanced profile, freshly brewed coffee enhances the ice cream’s depth. You can even experiment with flavored coffee for a unique twist!
-
Heavy Cream: This ingredient is crucial for achieving that creamy, dreamy texture. The higher fat content helps create a luscious mouthfeel that simply can’t be replicated with lighter creams.
-
Milk: I often use whole milk to add body without overshadowing the coffee flavor. It’s the perfect balance between richness and lightness.
-
Sugar: Granulated sugar sweetens the mix just enough to let the coffee shine. Adjust the amount to suit your taste preferences; a little extra can go a long way in enhancing the ice cream’s overall flavor.
-
Egg Yolks: If you’re curious about achieving that custard-like texture, incorporating egg yolks will elevate your coffee ice cream to a gourmet level. They add richness and stability, resulting in a silky finish.
These ingredients work harmoniously to create an irresistible coffee ice cream you’ll find hard to resist.
Why You’ll Love This Recipe
Imagine a warm summer evening, the sun dipping below the horizon, and you’re sitting on the patio, indulging in a scoop of homemade coffee ice cream. This delightful treat transforms the rich and bold essence of your morning brew into a creamy dessert that’s simply unforgettable.
Pure Coffee Bliss
Coffee ice cream is more than just a cool dessert; it’s an experience to savor. By using freshly brewed coffee, you’re infusing the ice cream with genuine flavor that outshines any store-bought variety.
Simplicity Meets Elegance
With just a handful of ingredients—cream, milk, sugar, and of course, coffee—you’ll find this recipe is surprisingly simple yet yields an impressive result. It’s an exciting project that even amateur cooks can master, bringing the satisfaction of homemade goodness right to your kitchen.
Perfect Pairing
Whether enjoyed on its own or paired with a rich chocolate cake, coffee ice cream elevates your dessert game to new heights. Plus, it’s a conversation starter at gatherings—everyone will want to know your secret for that unique flavor.
Making your own coffee ice cream not only delights your taste buds but also fills your home with the inviting aromas of coffee and cream. Treat yourself to this indulgence; you’ll be pleasantly surprised by how much joy this simple recipe brings!
Tips for Making Perfect Coffee Ice Cream
Crafting coffee ice cream at home is not just a culinary endeavor; it’s an experience that marries the rich, aromatic qualities of coffee with the creamy goodness of ice cream. To elevate your dessert game, here are some handy tips that can help you achieve that perfect scoop.
Choosing the Right Coffee
The heart of your coffee ice cream lies in the type of coffee you use. Opt for freshly ground coffee beans to enhance the flavor. Medium roasts are typically recommended for a balance of boldness and sweetness. Try brewing a strong cup before chilling it to extract deeper flavors that will shine through in your ice cream.
Use Quality Ingredients
Don’t skimp on the dairy! Use high-fat heavy cream and whole milk to create a rich, velvety texture. Remember, the creaminess of your ice cream directly correlates with the quality of your ingredients.
Temperature Matters
For the best results, chill your mixture thoroughly before churning it in the ice cream maker. This ensures a smoother texture and helps incorporate air more efficiently, resulting in a delightful final product.
Don’t Rush the Churning
Patience is key! Allow your coffee ice cream to churn for the recommended time. This process incorporates air, making it light and fluffy, rather than dense.
By following these tips, your homemade coffee ice cream will become the highlight of warm summer nights, much to the delight of your friends and family!
Time Breakdown for Coffee Ice Cream
Creating your own coffee ice cream is an exciting journey that brings rich flavors to your bowl. However, it’s essential to understand where your time will go, so let’s break it down to help you plan.
Preparation time
You’ll need about 15 minutes to gather your ingredients and prepare the base. This includes brewing the coffee and mixing it into the custard.
Chilling time
Patience is key! Chill your mixture in the refrigerator for a minimum of 4 hours. This step ensures robust flavors and the right texture when churned.
Churning time
Churning takes about 20 to 25 minutes. This is when the magic happens as your coffee ice cream transforms from liquid to creamy delight.
Total time
Consider setting aside about 4 hours and 40 minutes—all about balance, right? Dive into the process and enjoy the rich, creamy results!
Nutritional Facts for Coffee Ice Cream
Dive into the indulgent world of coffee ice cream, where the rich flavors of coffee blend perfectly with creamy sweetness. It’s not just a delicious treat; it’s a delightful way to fuel your evening unwind or mid-afternoon pick-me-up. Let’s take a closer look at the nutritional benefits that this delicious dessert offers.
Calories
A typical serving of coffee ice cream contains around 200-250 calories. While this might seem hefty, it’s worth noting that this treat often serves to satisfy your sweet tooth faster, preventing overeating.
Protein
Surprisingly, coffee ice cream can offer about 4-5 grams of protein per serving, thanks to ingredients like milk and cream. This makes it a bit more filling compared to other dessert options, giving you that extra boost.
Sugars
On the sweetness scale, you can expect approximately 15-20 grams of sugar. While it satisfies those sugar cravings, moderation is key to keeping your dessert experience a balanced one.
Remember, every scoop of coffee ice cream is not just a treat; it can be an enjoyable part of your day!
FAQs about Coffee Ice Cream
When it comes to the delightful world of coffee ice cream, there’s always a question or two bubbling up! Whether you’re a seasoned homemade ice cream maker or a curious beginner, this section aims to answer some of the most common inquiries related to this creamy treat.
Can I make this without an ice cream maker?
Absolutely! If you don’t have an ice cream maker, you can still enjoy fabulous coffee ice cream. Just mix your ingredients and pour the mixture into a shallow dish. Stir every 30-45 minutes as it freezes to break up ice crystals, creating a smoother texture. It may take a bit longer, but the result is just as rewarding.
What can I substitute for coffee?
For those who want to enjoy the flavor of coffee ice cream without caffeine, consider using decaffeinated coffee. Alternatively, you can swap in espresso powder or a coffee-flavored extract. If you’re looking for something entirely different, try using caramel or chocolate for a delicious twist without the coffee flavor.
How long will homemade ice cream last in the freezer?
Homemade coffee ice cream can typically last in the freezer for about 2-3 weeks. However, for optimal flavor and texture, it’s best consumed within the first week. Make sure to store it in an airtight container to prevent freezer burn.
Can I add mix-ins to this recipe?
Yes, adding mix-ins can elevate your coffee ice cream experience! Consider adding chocolate chips, crushed nuts, or even a swirl of caramel sauce. Just fold them in during the last few minutes of churning or mixing for the best results. The possibilities are endless, so feel free to get creative!
Conclusion on Coffee Ice Cream
In wrapping up our delightful journey through homemade coffee ice cream, it’s clear that this creamy treat is more than just a dessert; it’s a flavorful experience that can elevate your day. The combination of rich coffee and velvety cream strikes a perfect balance, making every spoonful a moment of indulgence. Whether you enjoy it alone or elevate it with toppings, this coffee ice cream recipe allows you to savor every bite. So, the next time you’re in need of a sweet escape, remember that crafting your own ice cream is not only rewarding but also a delicious treat that brings joy to dessert-loving hearts everywhere.
Print
Espresso Ice Cream
- Total Time: 4 hours 35 minutes
- Yield: 1 quart 1x
- Diet: Vegetarian
Description
Rich and creamy homemade espresso ice cream featuring a robust coffee flavor.
Ingredients
Scale
- 2 cups heavy cream
- 1 cup whole milk
- ¾ cup granulated sugar, divided
- 2 tablespoons instant espresso powder or strong instant coffee
- 4 large egg yolks
- 1 teaspoon pure vanilla extract
- Pinch of salt
Instructions
- HEAT THE CREAM MIXTURE: Combine heavy cream, whole milk, and half of the granulated sugar in a medium saucepan. Place the saucepan over medium heat and stir until the sugar dissolves completely. Add the espresso powder and whisk until fully dissolved. Heat the mixture until steam rises and the liquid is hot but not boiling, then remove from heat.
- WHISK THE EGG YOLKS: Place egg yolks and the remaining sugar in a medium bowl. Whisk continuously until the mixture turns pale and slightly thick. The texture should look smooth and creamy, which helps form a stable custard base.
- TEMPER THE EGGS: Slowly pour a small amount of the hot cream mixture into the egg yolk mixture while whisking constantly. Continue adding the hot liquid gradually while whisking to gently raise the temperature of the eggs without scrambling them. Once combined, pour the mixture back into the saucepan.
- COOK THE CUSTARD: Return the saucepan to low heat. Stir constantly with a wooden spoon or heatproof spatula, making sure to scrape the bottom and sides. Cook for 5 to 8 minutes, until the custard thickens enough to coat the back of the spoon. When you draw your finger across the spoon, a clear line should remain. Do not allow the mixture to boil.
- STRAIN AND CHILL: Remove the custard from heat and stir in the vanilla extract and salt. Pour the mixture through a fine-mesh sieve into a clean bowl to remove any cooked egg bits. Cover the bowl and refrigerate for at least 4 hours, or overnight for deeper flavor and improved texture.
- CHURN THE ICE CREAM: Pour the fully chilled custard into an ice cream maker. Churn according to the manufacturer’s instructions, usually 20 to 25 minutes, until the texture resembles soft serve and has increased in volume.
- FREEZE UNTIL FIRM: Transfer the churned ice cream to a freezer-safe container. Smooth the surface evenly and press a piece of parchment paper or plastic wrap directly against the top to reduce ice crystals. Cover tightly and freeze for at least 4 hours, or until firm enough to scoop.
Notes
- For a stronger coffee flavor, increase the amount of espresso powder.
- Ensure the custard is completely chilled before churning for the best texture.
- Prep Time: 20 minutes
- Cook Time: 15 minutes
- Category: Dessert
- Method: Churning
- Cuisine: American
Nutrition
- Serving Size: 1/2 cup
- Calories: 300
- Sugar: 25
- Sodium: 50
- Fat: 20
- Saturated Fat: 12
- Unsaturated Fat: 8
- Trans Fat: 0
- Carbohydrates: 30
- Fiber: 0
- Protein: 4
- Cholesterol: 150