Follow Me On Social Media!

No-Knead Dinner Rolls: Soft, Buttery Bliss in Every Bite
Introduction to No-Knead Dinner Rolls with Honey Butter
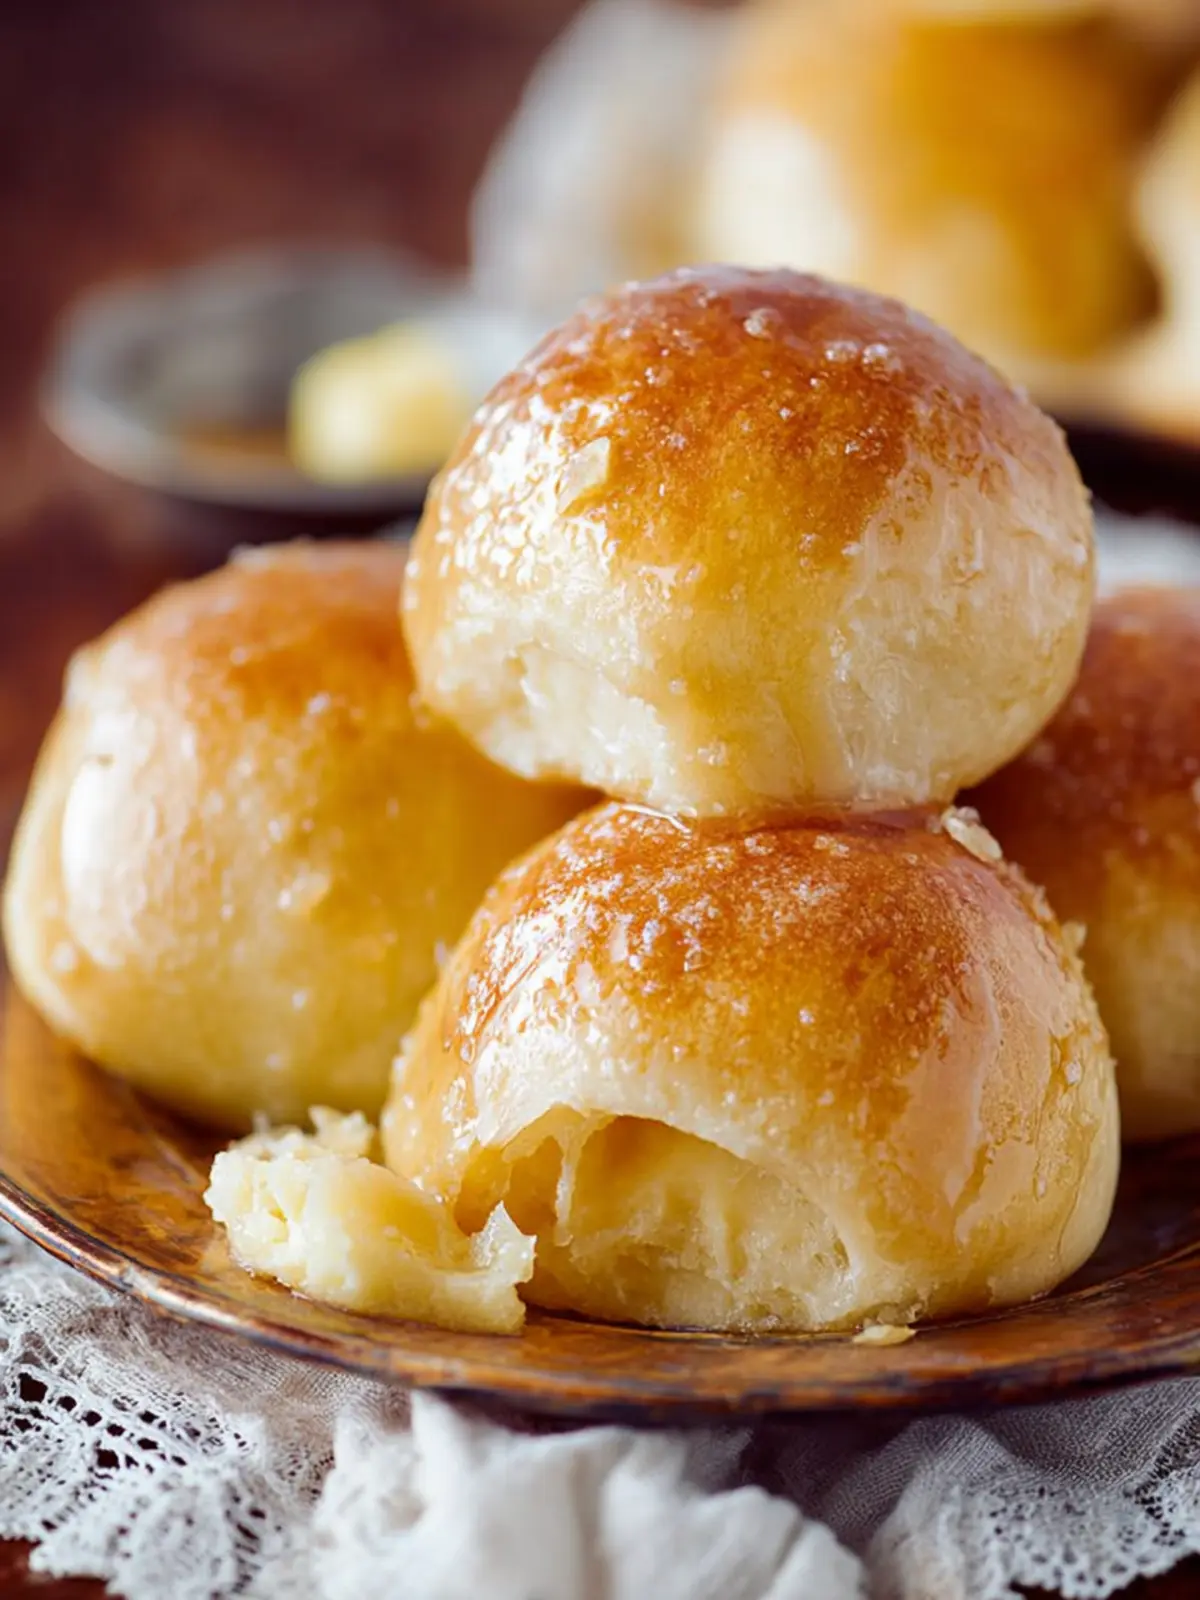
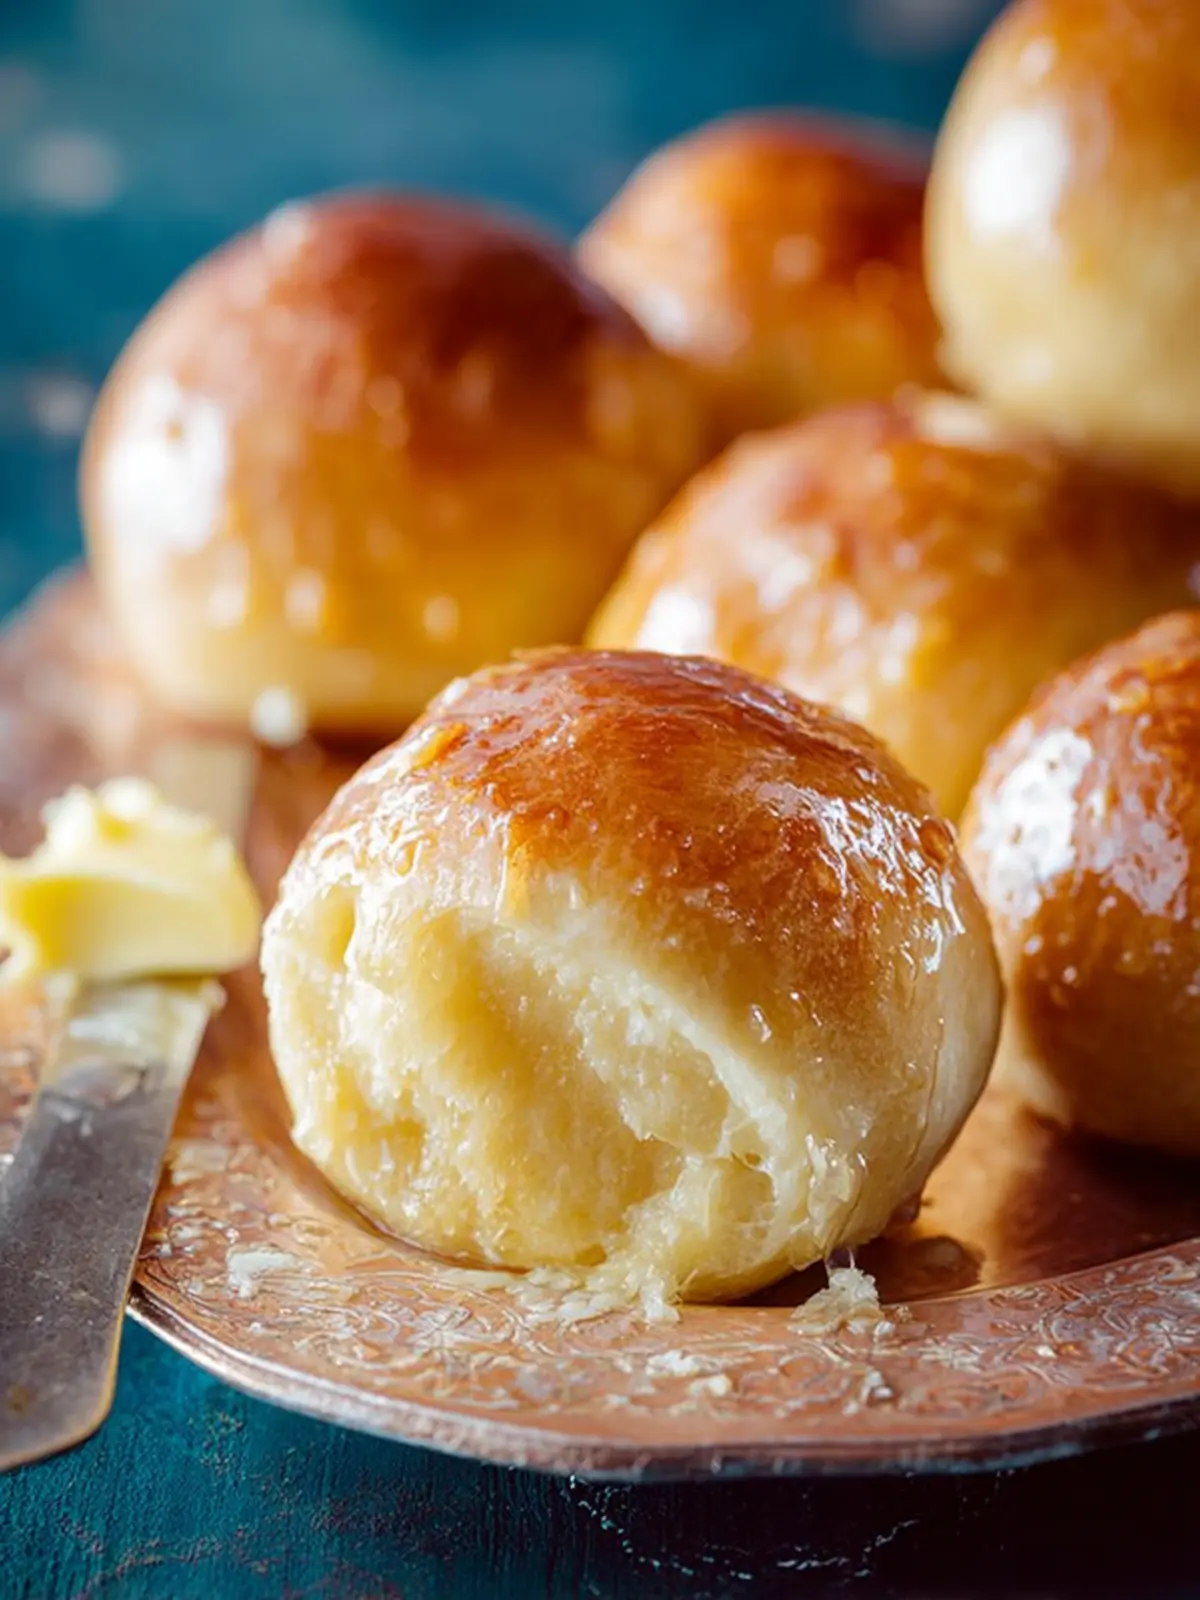
There’s something undeniably magical about no-knead dinner rolls. Imagine a Sunday dinner where the warm scent of freshly baked bread wafts through your kitchen, beckoning everyone to gather around the table. These rolls are not just any bread; they are light, fluffy, and incredibly easy to make, with minimal effort but maximum flavor. Picture buttery, golden crusts that snag your attention, perfect for mopping up savory gravies or just enjoying on their own.
What makes no-knead dinner rolls so special?
No-knead dinner rolls stand out because they are a breeze to prepare and require just a few simple ingredients. Unlike traditional bread recipes that demand a significant amount of time and elbow grease to develop the gluten, these rolls focus on a long fermentation process. This means less work for you and tender, flavorful rolls at the end.
- Ease of Preparation: With just a few minutes of mixing and a long rise, you can create rolls that seem like they took hours to make.
- Flavor Development: The lengthy fermentation not only saves your muscles but also develops complex flavors – a characteristic that sets these rolls apart from their quick counterparts.
- Versatility: Enjoy them with dip, alongside your favorite soups, or even as the base for mini sandwiches. The possibilities are endless!
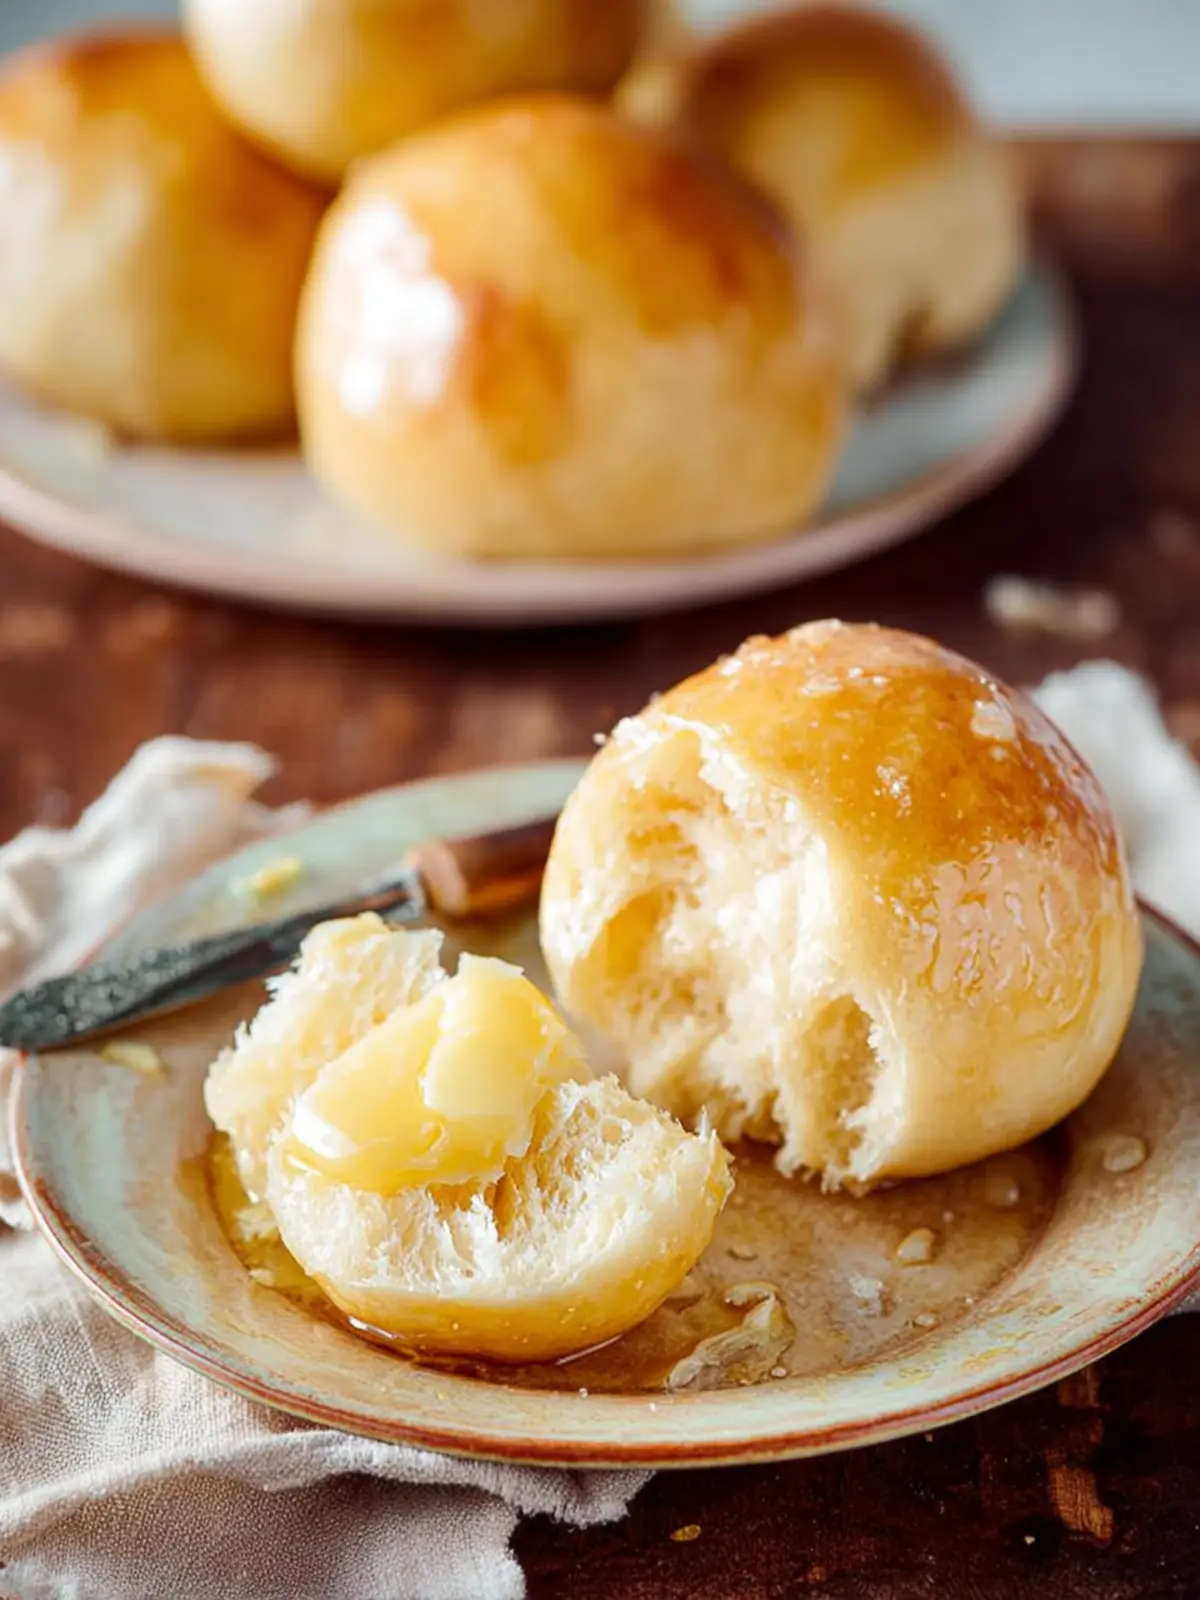
What makes it even better is the honey butter that accompanies these rolls. A sweet, creamy spread that takes mere moments to whip up promises to elevate your dining experience. Maddeningly delicious, this concoction of butter, honey, and a pinch of salt adds the perfect finishing touch, making every bite a delightful experience for your taste buds.
In the hustle and bustle of modern living, who wouldn’t appreciate a simple yet impressive dish like no-knead dinner rolls with honey butter to share with friends and family? As you embark on this culinary adventure, you’ll find that baking can indeed be a stress-reliever, bringing warmth and connection to your dining table. So, let’s dive into the details and get started on this delightful recipe!
Key Ingredients for No-Knead Dinner Rolls with Honey Butter
Flour: The foundation of no-knead dinner rolls is all-purpose flour. It provides the ideal structure and texture for the rolls, ensuring they fluff up beautifully in the oven. You can also experiment with whole wheat flour for a heartier taste!
Yeast: Instant yeast is your go-to here, as it works its magic without needing proofing. It’s what makes the dough rise effortlessly, allowing you to skip the kneading process while still getting those light and airy rolls.
Salt: A critical ingredient, salt not only enhances flavor but also strengthens the dough structure. Just a pinch goes a long way in elevating the overall taste of your rolls.
Honey: This adds a touch of sweetness to the dough, creating a delightful contrast with the savory elements of dinner. It’s also a key ingredient in the honey butter, which is a must-have spread for the rolls!
Butter: Melted butter in the dough creates a rich flavor while also contributing to a tender crumb. Using butter both in the dough and for brushing the tops adds that irresistible golden color.
Water: Warm water activates the yeast, creating the perfect environment for the dough to rise. Be careful not to use water that’s too hot, as it can kill the yeast.
With these simple yet essential ingredients, achieving perfect no-knead dinner rolls is not only achievable but also incredibly satisfying!
Why You’ll Love No-Knead Dinner Rolls
Imagine the aroma of warm, freshly baked no-knead dinner rolls wafting through your home as you prepare for a gathering. These rolls embody comfort and simplicity, making them the perfect side for any meal.
What sets these no-knead dinner rolls apart is their ease and delightful texture. You won’t need to spend hours kneading dough or worrying about it rising perfectly. Instead, this recipe invites you to mix together your ingredients, let the dough rise, and then shape it into rolls. It’s that simple! Plus, with just a handful of ingredients—flour, water, yeast, salt, and a touch of honey for sweetness—these rolls come together effortlessly.
-
Perfect for Any Occasion: Whether you’re hosting a fancy dinner or enjoying a casual weeknight meal, these rolls can elevate any table setting.
-
Deliciously Soft and Fluffy: The no-knead technique allows these rolls to achieve an ideal airy texture, resulting in a pillowy bite that pairs perfectly with butter.
-
Customize to Your Liking: Feel free to get creative! Add herbs, cheese, or spices to tailor these rolls to your taste.
Experience the joy of warm no-knead dinner rolls; they’re not just a recipe, but a reason to gather and enjoy!
Tips for Making Perfect No-Knead Dinner Rolls
Creating no-knead dinner rolls is not only about the ingredients; it’s also about the little techniques that make the process enjoyable and successful. Here are some tried-and-true tips to help you achieve rolls that are light, fluffy, and irresistibly delicious.
Choose Your Flour Wisely
For the best results, using all-purpose flour strikes the perfect balance between structure and tenderness. Avoid whole wheat flour, as it may create a denser roll. If you’re feeling adventurous, try blending in some bread flour; it can add a chewy texture that’s delightful.
Measure Ingredients Accurately
Baking is a science, and precise measurements matter. Use a kitchen scale for the most accurate results, especially for the flour and water. Too much liquid can result in sticky dough, while too little can lead to a dry outcome.
Don’t Rush the Rise
Patience is key with no-knead dinner rolls. Allow your dough to rise sufficiently — ideally, 8 to 12 hours. This long fermentation period not only develops flavor but also helps create those beautiful air pockets that make rolls fluffy.
Preheat Your Oven
Always preheat your oven for at least 30 minutes before baking. This ensures that your rolls puff up beautifully as they hit the heat. A hot oven is crucial for that perfect crust.
By following these simple yet effective tips, you’ll be on your way to baking no-knead dinner rolls that are the perfect addition to any meal!
Time Details for No-Knead Dinner Rolls
Creating no-knead dinner rolls is a delightful experience, where the magic of bread-making comes from letting time do the work. Let’s break down how long this easy recipe takes so you can plan accordingly.
Preparation Time
Get started in just 15 minutes! Gather your ingredients, mix them together, and that’s it—no kneading required.
Rising Time
Patience pays off with 2 hours of rising time. This period allows the dough to develop flavor and achieve that sought-after light and airy texture.
Baking Time
Bake these rolls for about 20-25 minutes. Keep an eye on them as they turn golden brown, and your kitchen fills with a heavenly aroma.
Total Time
In total, you’re looking at around 2 hours and 40 minutes from start to finish. Most of that time is hands-off, allowing you to relax or prep other parts of your meal while the rolls do their thing!
Nutritional Information for No-Knead Dinner Rolls
When you dip into a basket of no-knead dinner rolls, you’re not just indulging in a warm, fluffy bite; you’re also enjoying guilt-free goodness. These rolls bring comfort to the table without overwhelming your calorie count.
Calories
Each no-knead dinner roll packs approximately 120 calories. This make them a delightful addition to your meal without disrupting a balanced diet.
Protein
These rolls provide about 4 grams of protein each, offering a subtle boost to your daily intake, especially when paired with protein-rich sides.
Sodium
With around 180 milligrams of sodium per roll, they strike a lovely balance—enough flavor without going overboard on salt. Enjoy them fresh out of the oven for that perfect, fluffy experience!
FAQs about No-Knead Dinner Rolls
Making no-knead dinner rolls can unlock a world of possibilities at your dinner table. Below are some frequently asked questions that will enhance your baking experience and ensure you get the most out of this delicious recipe!
Can I make these rolls ahead of time?
Absolutely! You can prepare the dough for your no-knead dinner rolls up to 24 hours in advance. Just mix the ingredients and let the dough rise in the refrigerator instead of at room temperature. When you’re ready to bake, simply shape the rolls, let them proof for about 30 minutes, and then pop them in the oven. This approach can save you time on busy days.
What should I do with leftover dinner rolls?
Leftover rolls are the perfect excuse to indulge in some creativity! You can store them in an airtight container at room temperature for a couple of days. Consider transforming them into delicious sandwiches or using them as a base for bread pudding. You can also revive their fluffy texture by warming them in a microwave or oven.
Can I freeze the dough?
Yes, freezing the dough is a great way to have freshly baked no-knead dinner rolls ready whenever you want. After the original rise, shape the rolls and place them on a baking sheet to freeze individually. Once frozen, transfer them to a freezer bag. When you’re ready to bake, let them thaw and rise for a few hours before baking.
How can I customize these dinner rolls?
The beauty of no-knead dinner rolls lies in their versatility. You can mix in herbs like rosemary or garlic for a savory twist. Or, incorporate cheeses like cheddar or parmesan for a cheesy hint. Sweeten them up with cinnamon or dried fruits for a delightful breakfast option. The possibilities are endless!
Conclusion on No-Knead Dinner Rolls with Honey Butter
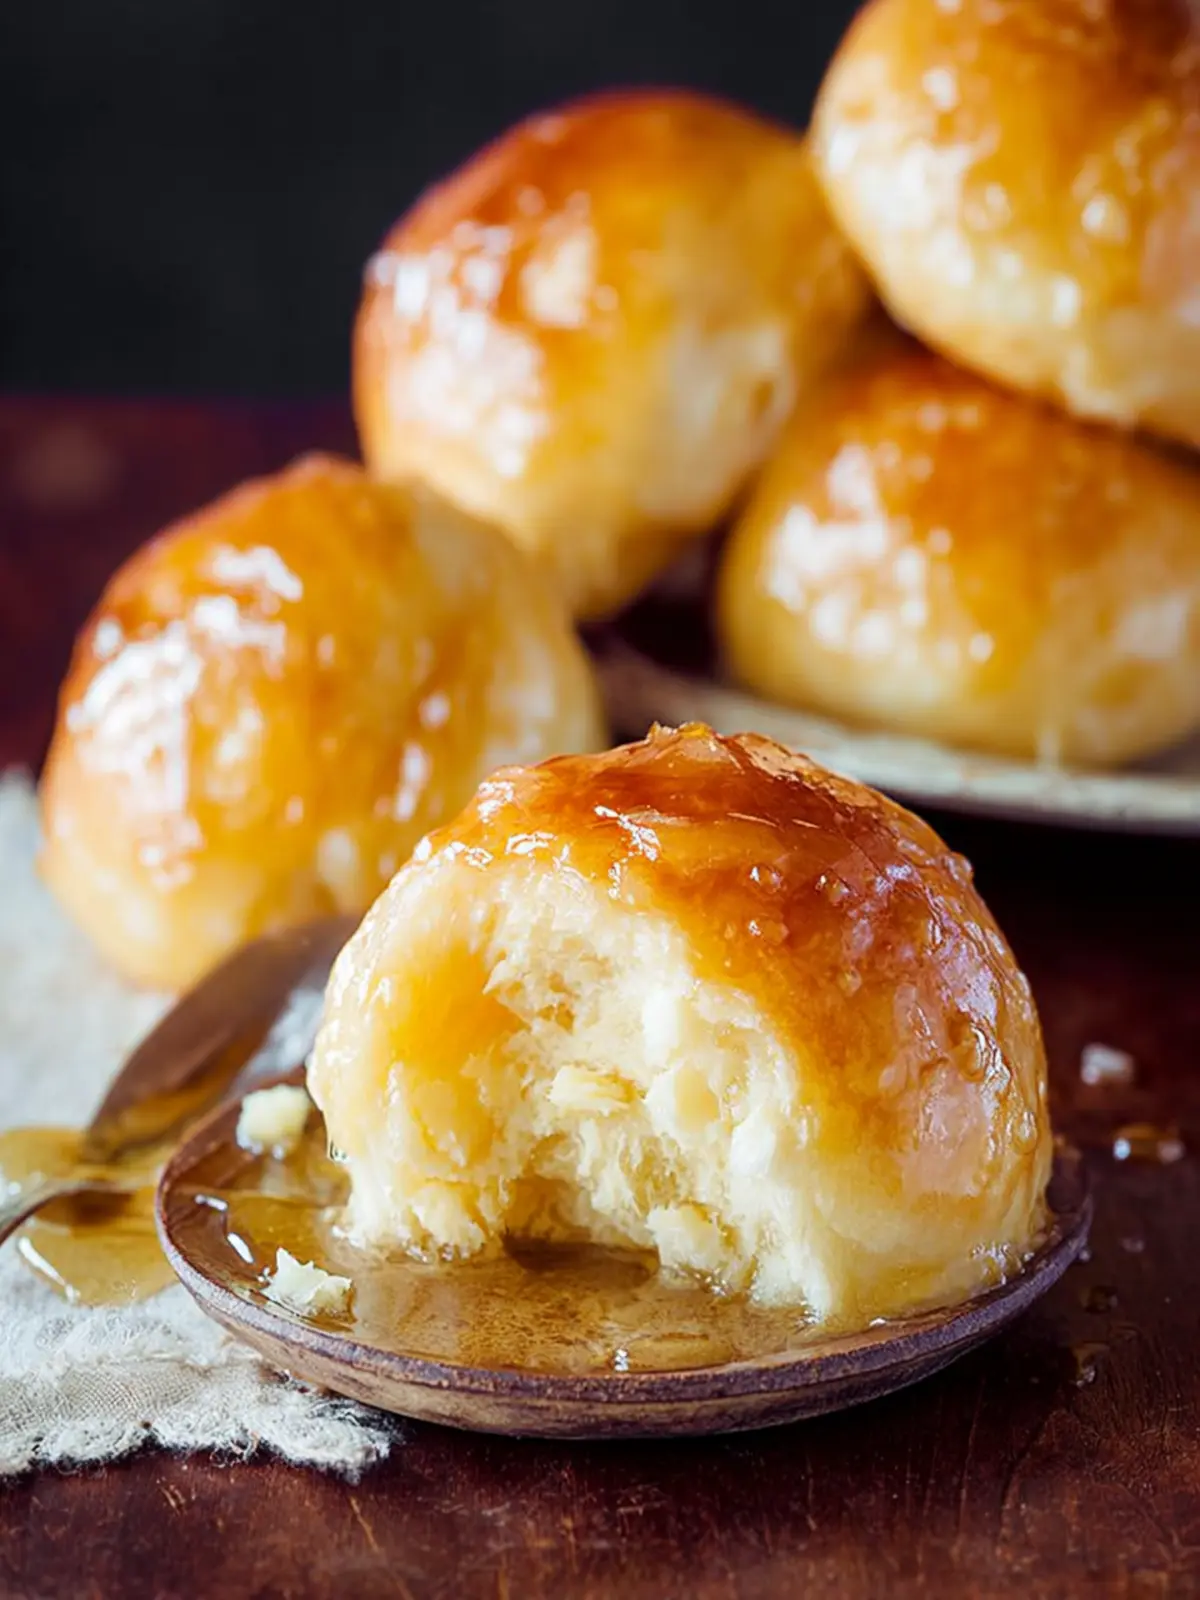
Perfecting the art of baking can feel daunting, but with these no-knead dinner rolls, you’ll unlock a world of homemade warmth and flavor. Imagine pulling a basket of golden, fluffy rolls from the oven, the smell wafting through your home, inviting everyone to gather around the table. These rolls are effortlessly delicious, and when paired with the sweet creaminess of honey butter, you create a comforting side that elevates any meal. So, whether it’s a casual weeknight dinner or a festive feast, these rolls are your go-to recipe for adding a touch of heartfelt hospitality. Gather your loved ones and enjoy every buttery bite!
Print
Honey Yeast Rolls
- Total Time: 2 hours 38 minutes
- Yield: 16 rolls 1x
Description
Soft and fluffy honey yeast rolls perfect for any meal.
Ingredients
Scale
- 7/8 cup water (scant 1 cup, warmed to about 125F for Platinum yeast, about 105 to 115F for most other yeast)
- 2 1/4 teaspoons instant or active dry yeast (one 1/4-ounce packet (I use Red Star Platinum)
- 2 large eggs
- 1/4 cup canola or vegetable oil
- 1/4 cup honey
- 1/2 teaspoon salt (or to taste)
- 3 1/2 cups all-purpose flour
- 1/4 cup unsalted butter, very soft
- 2 to 3 tablespoons honey for brushing
Instructions
- Pour water into a microwave-safe measuring cup or bowl and warm it to manufacturer’s directions on yeast packet, about 45 seconds on high power. Take the temperature with a thermometer. If you don’t have one, water should be warm to the touch, but not hot. Err on the side of too cool rather than too hot because you don’t want to kill the yeast.
- Pour water into a large mixing bowl and sprinkle the yeast over the top; wait 5 to 10 minutes, or until yeast is foamy. This means it’s alive and will work. (This is proofing and technically with instant dry yeast you don’t have to proof it, but for this recipe, I do)
- Add the eggs, oil, 1/4 cup honey, optional salt, and whisk to combine, about 30 seconds.
- Add the flour and stir with a wooden spoon to incorporate the flour. Stir for about 1 minute more. This is as much ‘kneading’ as the recipe requires. Dough will be thick, lumpy, bumpy, and not smooth. This is okay.
- Make a ball with the dough in the center of the bowl. Cover bowl with plastic wrap and place in a warm, draft-free place to rise until doubled in bulk, about 2 hours.
- At this point, you have two choices: bake the rolls now or bake them later.
- If you plan to bake now, punch dough down, remove it from bowl, and turn it out onto a well-floured surface.
- Knead it only so much as necessary to shape it into balls for rolls (I divide the dough in half, and if I’m making rolls, I make 8 rolls from each half, for 16 rolls total, they’re just a bit bigger than golf balls). Or form desired shapes such as mini loaves, challah, breadsticks, pretzels, etc. Use only what you need and save the rest for later in the refrigerator.
- Place balls of dough in a cooking sprayed round baking dish or pie plate, or in an 8×8 or 9×9 pan; size depends on how many you’re making. They can be close to each other, but if they’re overly squished they’ll bake into each other.
- Cover baking dish with plastic wrap, and allow rolls to rise in a warm, draft-free environment for about 1 hour, until almost doubled in size.
- In the final minutes of rising, preheat oven to 350F.
- Bake rolls for about 15 to 18 minutes, or until lightly golden and puffed.
- Serve as soon as bread is cool enough to handle.
- If you plan to bake later, take dough that’s risen for about 2 hours from step 5, keep it covered, and refrigerate it. Dough may be kept refrigerated for up to 5 days before baking.
- When you plan to bake, pick up at step 5 and follow through the section labeled “if baking immediately.”
- Stir to combine the butter and honey. Generously brush or spread the mixture over the top of the dough before baking.
- Reserve remainder to serve with rolls after baking.
Notes
- If you need to proof the yeast, make sure the water is at the right temperature to activate it properly.
- For best results, allow the rolls to rise in a warm location.
- Watch your bread while baking; it can vary based on roll size and oven variations.
- Prep Time: 20 minutes
- Cook Time: 18 minutes
- Category: Bread
- Method: Baking
- Cuisine: American
Nutrition
- Serving Size: 1 roll
- Calories: 150
- Sugar: 5g
- Sodium: 150mg
- Fat: 6g
- Saturated Fat: 1g
- Unsaturated Fat: 4g
- Trans Fat: 0g
- Carbohydrates: 22g
- Fiber: 1g
- Protein: 4g
- Cholesterol: 30mg