Follow Me On Social Media!

Peppermint Bark Bliss: The Best Holiday Treat to Share
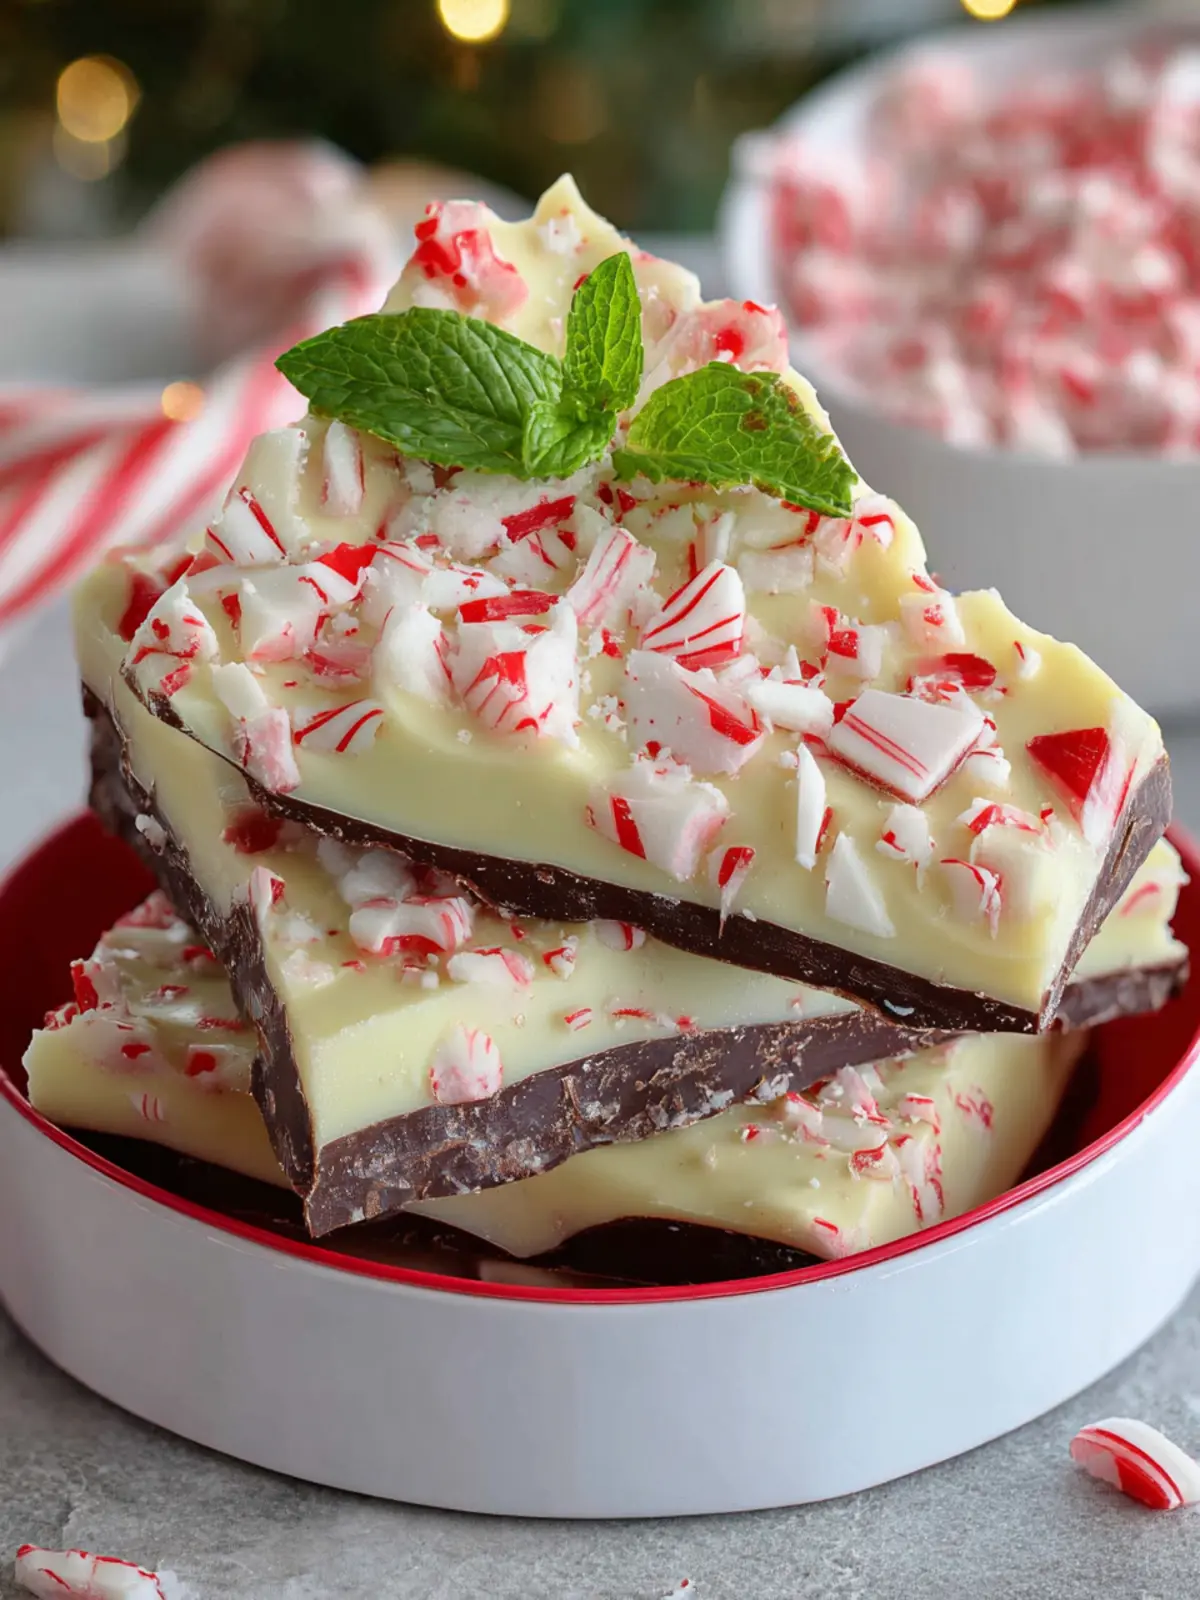
Introduction to Peppermint Bark
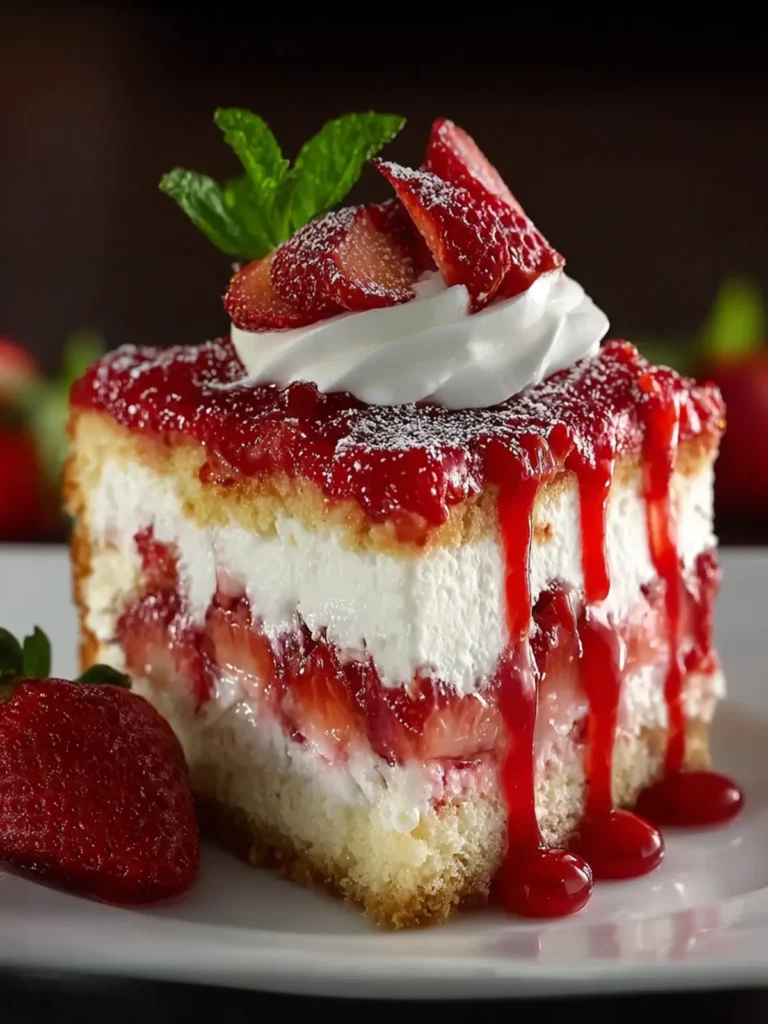
There’s something undeniably magical about creating your own peppermint bark during the holiday season. This delightful treat combines smooth chocolate and the refreshing crunch of peppermint, evoking memories of cozy nights by the fireplace and the cheerful spirit of gift-giving. Each layer of peppermint bark tells a story, from melting the chocolate to the satisfying crunch of crushed candy canes, making it a beloved favorite in many households.
The process of making peppermint bark isn’t just about the delicious end product; it’s about the joy of taking time to craft something special from scratch. Picture this: you’re in your kitchen, the aroma of melting chocolate fills the air, and you realize that in just a few easy steps, you’ll be creating something that friends and family will cherish. It’s this sense of nostalgia combined with creativity that makes homemade treats feel so much more meaningful.
The Joy of Homemade Treats
Making peppermint bark at home is a simple yet rewarding experience. With just a few ingredients, you can create a beautiful and tasty confection that will impress anyone lucky enough to receive it. As you bring together high-quality chocolate, creamy white chocolate, and refreshing peppermint, you’re not just cooking—you’re creating a heartfelt gift, perfect for the holidays.
What I love most about this treat is its versatility. You can customize it with your favorite chocolates or even make it dairy-free for those with dietary restrictions. Plus, making it at home means you can control the ingredients and ensure everything is fresh and perfect.
Beyond gifting, peppermint bark serves as a delightful centerpiece for holiday gatherings, bringing a pop of color and flavor to any dessert table. So, roll up your sleeves and get ready to enjoy a delightful cooking adventure that will leave you with not just a scrumptious treat, but also sweet memories.
This is just the beginning—stay tuned as we dive into the ingredients, tips, and step-by-step instructions to create your own perfect batch of peppermint bark!
Key Ingredients for Peppermint Bark
Creating the perfect peppermint bark is all about using high-quality ingredients that elevate this classic treat. Here’s a breakdown of what you’ll need to make your batch truly irresistible.
Chocolate
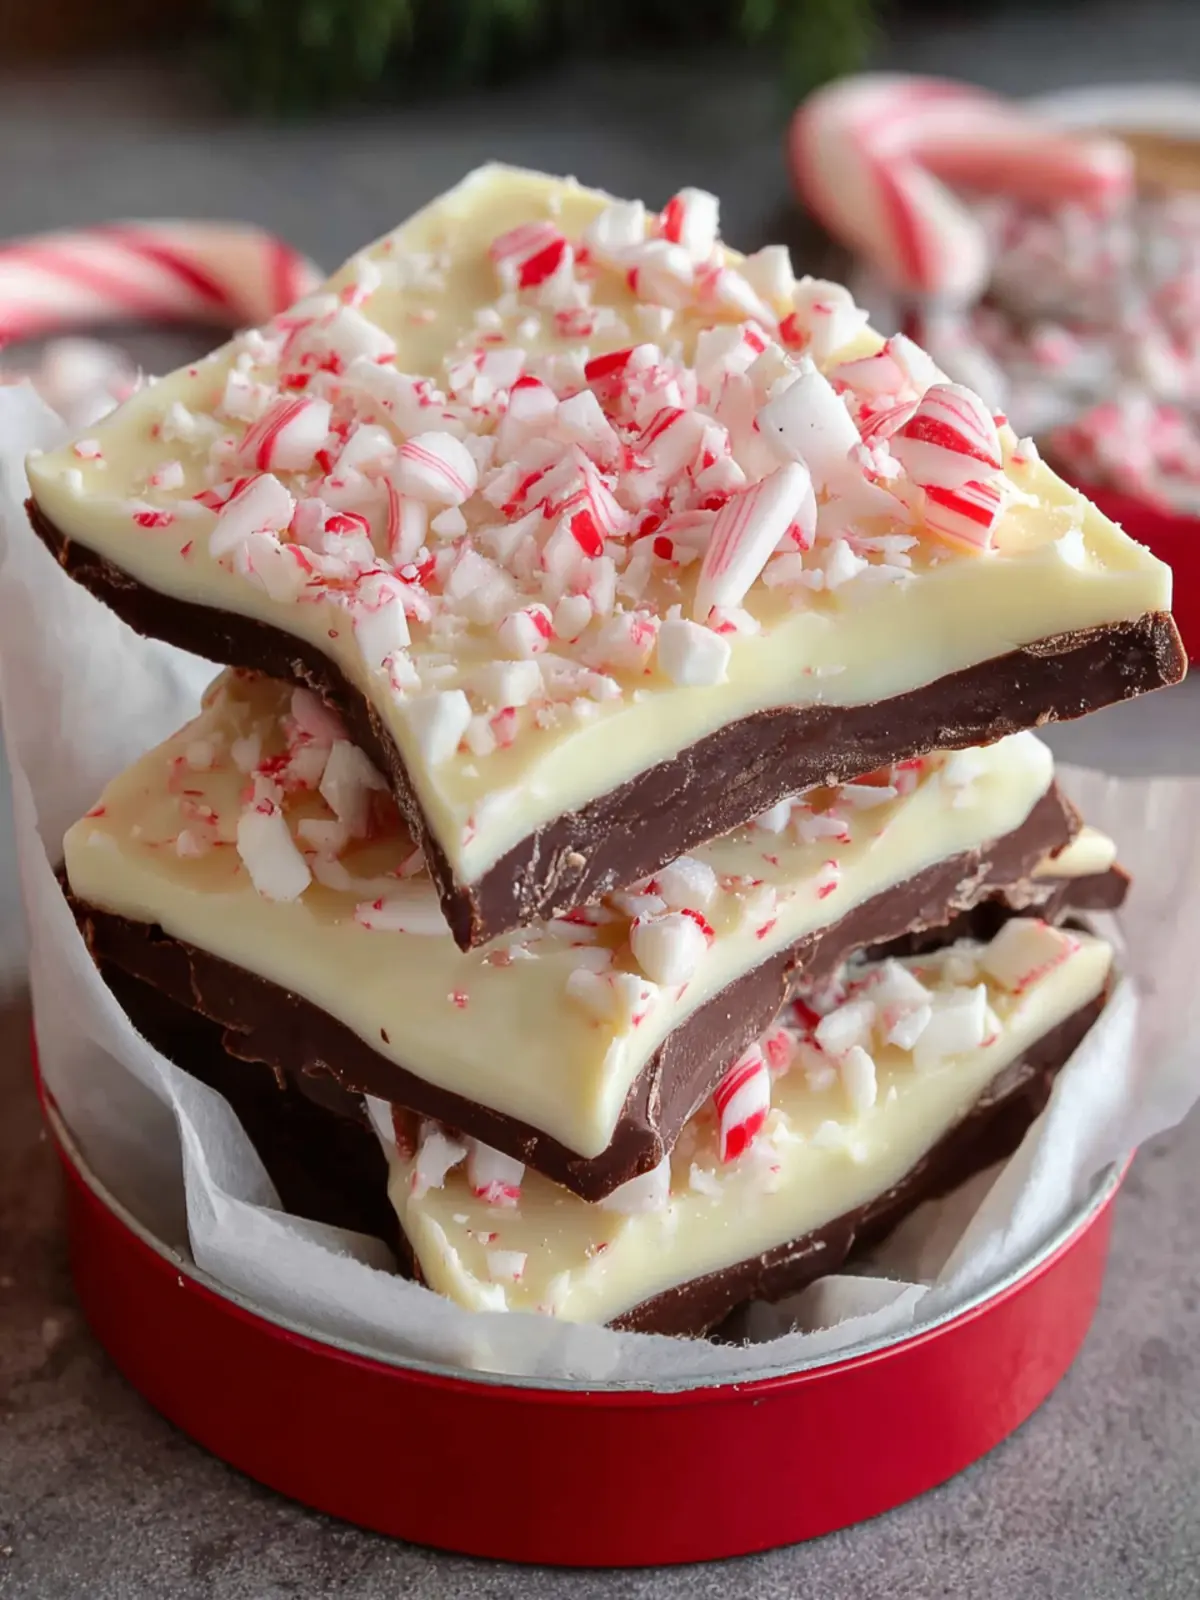
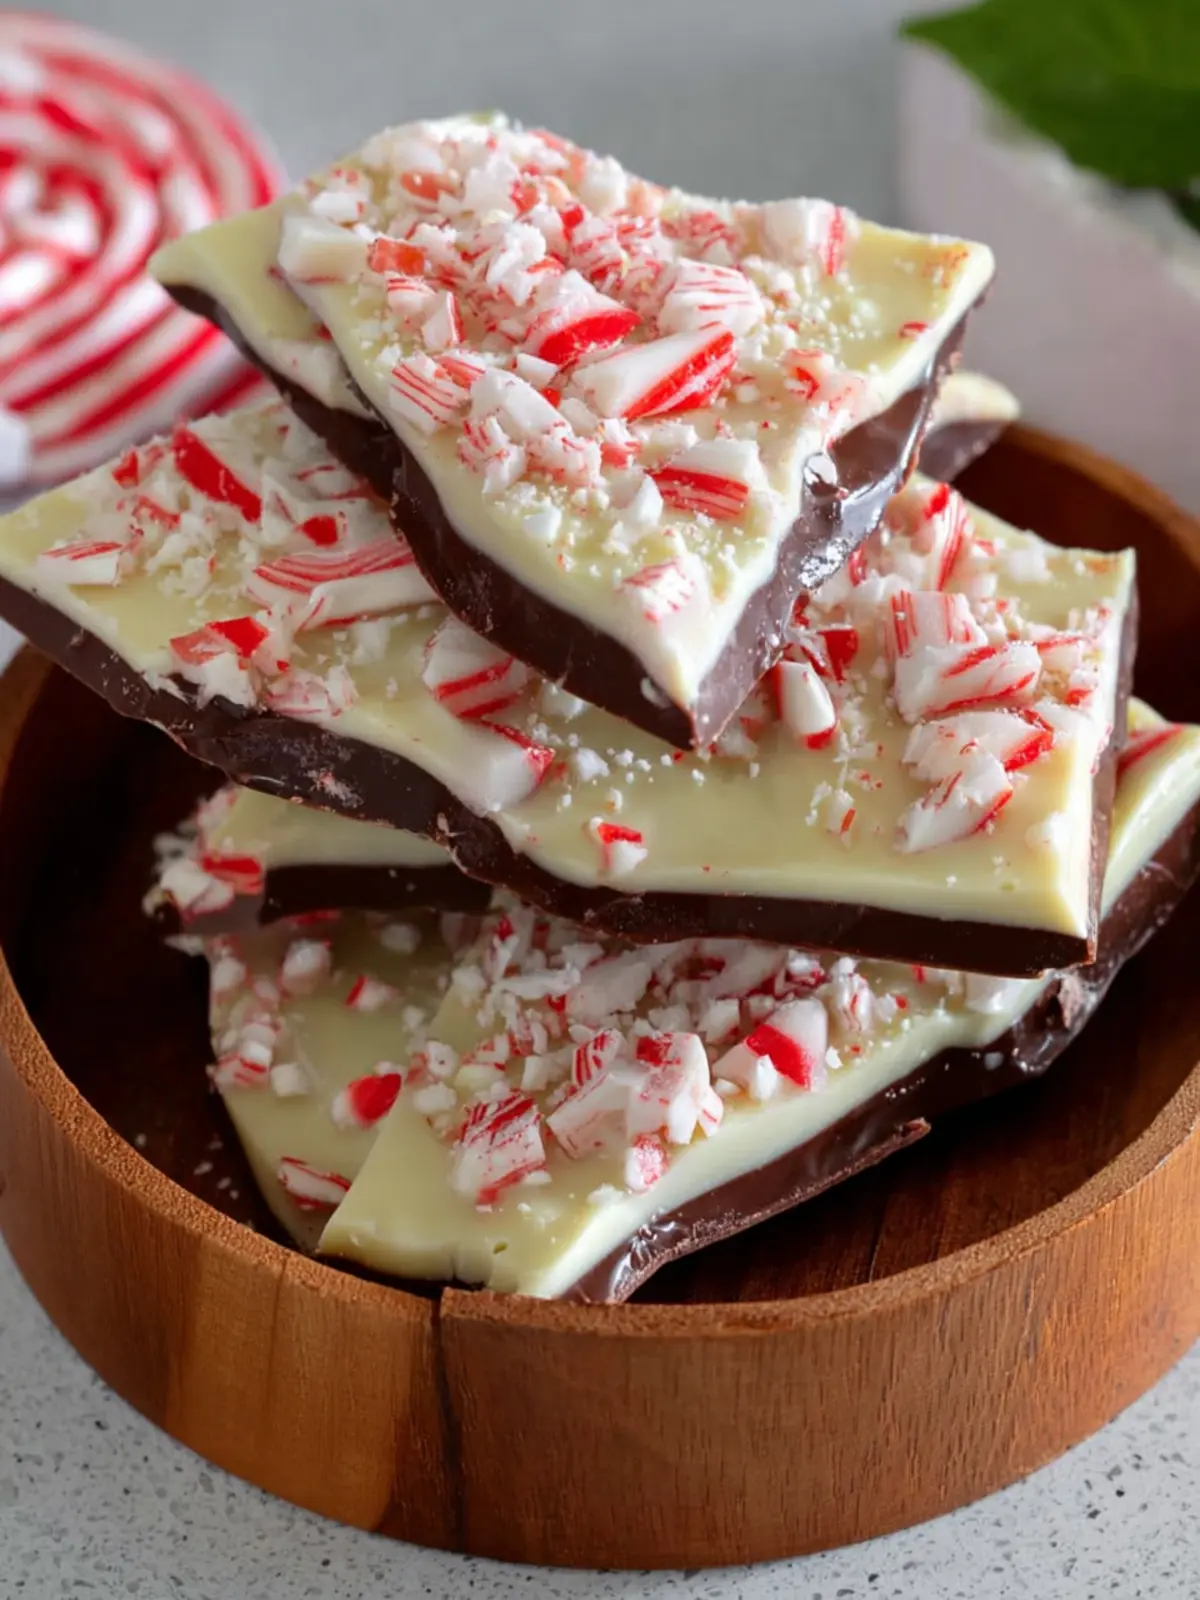
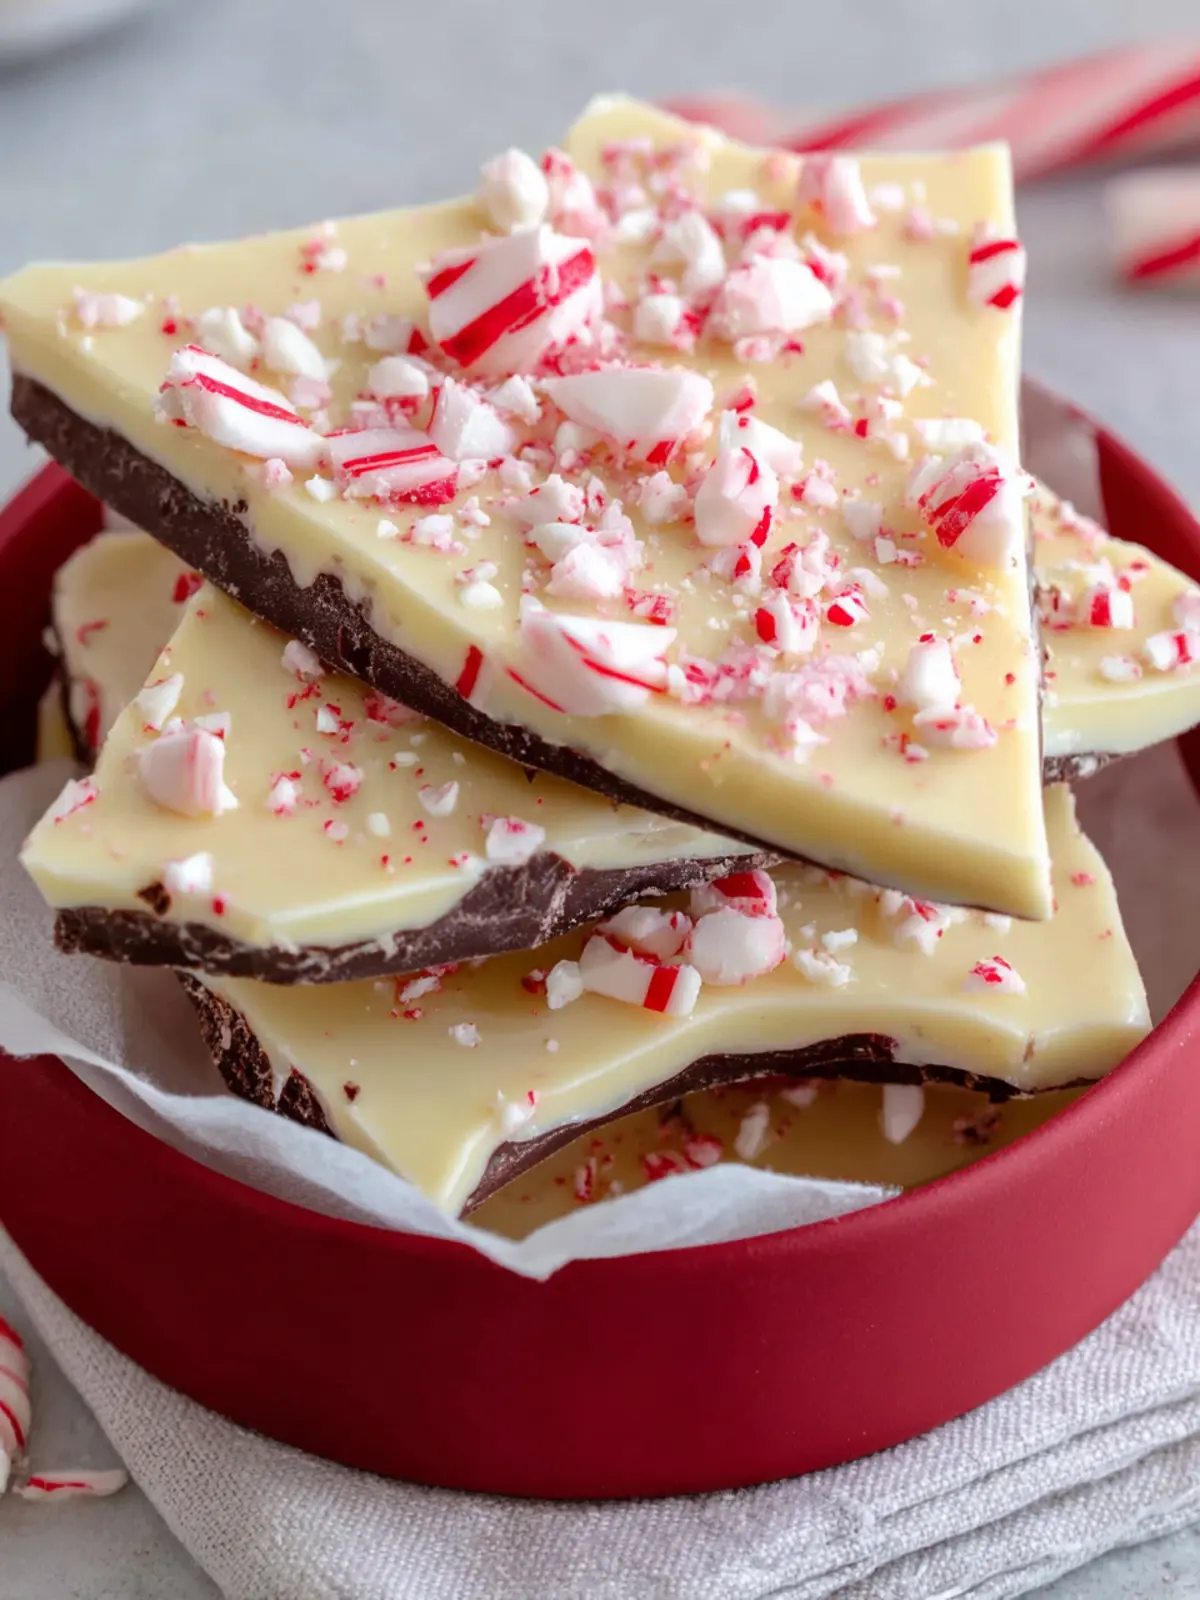
The star of our peppermint bark is chocolate! I recommend using good quality dark chocolate for the bottom layer, as it provides a rich, deep flavor. Milk chocolate is also a delightful option for those who prefer a sweeter taste, while white chocolate works beautifully on top due to its creamy sweetness.
Peppermint Extract
A splash of peppermint extract is essential for that refreshing flavor. It’s important to use pure extract to ensure you get the most authentic taste; artificial flavoring can be overpowering and may diminish the fresh mint experience we’re after.
Crushed Candy Canes
To finish off this holiday favorite, don’t skip the crushed candy canes! They add delightful crunch and a pop of color. I like to control the size of the pieces; too small, and they might disappear into the chocolate, but too large can make it hard to bite into. Aim for chunks that are just the right size to complement each layer.
With these key ingredients, your peppermint bark is sure to become a seasonal highlight you’ll want to share with family and friends!
Why You’ll Love This Recipe
Perfect for the Holidays
Imagine a bustling kitchen filled with the delightful scent of peppermint bark, a treat that seems to encapsulate the very essence of the holiday season. This recipe not only brings joy to your taste buds but also creates a visual delight that’s perfect for festive gatherings.
-
Easy to Make: With only a handful of ingredients, this peppermint bark is a breeze to whip up. It’s perfect for those who are short on time but still want to impress.
-
Ideal for Sharing: Whether you’re hosting a holiday party or attending one, this sweet treat is the perfect gift. Pack it in a festive tin or on a beautiful platter, and you’ve got a present that’s sure to be remembered.
-
Versatile: Swap out the traditional toppings for your favorites. White chocolate can be replaced with dark if that’s more your style, or mix in your favorite nuts for a unique twist.
-
Family Tradition: Making peppermint bark can become a cherished family tradition, creating memorable moments each holiday season. Don’t be surprised if it becomes the centerpiece of your holiday celebrations!
Get ready to indulge and create lasting memories with this festive treat that truly captures the spirit of the season!
Variations of Peppermint Bark
Get Creative with Your Bark
While the classic peppermint bark is undeniably delightful, embracing your creativity can lead to exciting variations that elevate your sweet treat game. Picture this: a beautiful layer of rich dark chocolate as the base, topped with vibrant white chocolate that boasts a delightful crunch. But why stop there?
-
Nutty Twist: Add some chopped nuts like almonds or hazelnuts to the mix. Their crunch and flavor complement the smooth chocolate and refreshing peppermint perfectly.
-
Flavor Infusions: Instead of sticking with just peppermint extract, try incorporating flavors like orange or almond. A hint of orange zest can create a festive version that’s uniquely yours.
-
Seasonal Ingredients: If it’s not the holiday season, consider swapping out the peppermint for seasonal favorites like cranberries or pistachios to give your bark a refreshing twist that can be enjoyed year-round.
-
Drizzle & Decorate: Get artistic with your peppermint bark. Drizzle some additional melted chocolate over the top or sprinkle with colorful holiday sprinkles for an added festive flair.
Experimenting with these variations not only makes the peppermint bark your own but also adds a personal touch that can impress your friends and family. So, gather those ingredients and let your imagination run wild!
Cooking Tips and Notes for Peppermint Bark
Creating the perfect peppermint bark involves more than just mixing chocolate and candy canes; it’s an art form that deserves to be mastered. Here are some essential tips to elevate your bark-making game.
Mastering the Melting Process
-
Use Quality Chocolate: Choosing high-quality chocolate is key for a smooth melting experience. Opt for semi-sweet or dark chocolate chips, as they melt seamlessly and offer a richer taste. I often find that brands like Guittard or Ghirardelli work wonders.
-
Chop It Up: If you’re working with chocolate bars instead of chips, chop them into small, uniform pieces. This helps them melt evenly, avoiding those frustrating clumps that can ruin your peppermint bark.
-
Control the Heat: When melting, use a double boiler if possible—this gentle heat prevents scorching. If you’re in a pinch, a microwave works too. Just heat in short bursts (about 15-30 seconds), stirring in between until smooth.
-
Avoid Water Contact: It’s a common mistake to let a bit of water sneak into your melting chocolate, which creates a gritty texture. Ensure all utensils and bowls are completely dry before you begin.
By following these tips, you’ll be on your way to crafting scrumptious peppermint bark that will wow friends and family alike. Happy baking!
Serving Suggestions for Peppermint Bark
How to Enjoy Your Delicious Treat
Indulging in peppermint bark offers a delightful taste of the holidays, but there are countless ways to elevate this sweet treat. Picture this: you have a beautiful platter of peppermint bark ready to impress your guests at a festive gathering.
-
Gift It: Break your homemade bark into bite-sized pieces and package them in decorative bags as thoughtful gifts. Everyone appreciates a homemade sweet, especially during the holiday season.
-
Serve with Hot Cocoa: Pair your peppermint bark with a steaming cup of hot cocoa for a cozy winter treat. The combination of warmth from the drink and the cool refreshing peppermint flavor is unmatched.
-
Top It Off: Crumble some peppermint bark over ice cream or yogurt for a decadent dessert. This adds a crunchy texture and a burst of flavor that transforms ordinary treats into something special.
-
Add to Desserts: Use it as a topping for cakes or brownies; its festive colors and flavors can enhance your holiday baking.
Each of these suggestions brings a new way to enjoy the simple pleasure of peppermint bark, making it a versatile addition to your festive celebrations.
Time Breakdown for Peppermint Bark
Creating your own peppermint bark is not just a delicious endeavor—it’s also a joyful way to spread holiday cheer. Understanding the time commitment ensures your experience is smooth and stress-free.
Preparation Time
Getting started with your peppermint bark takes around 15 minutes. This includes melting the chocolate, mixing in the peppermint extract, and layering the ingredients. A perfect opportunity to crank up your holiday playlist!
Cooling Time
After preparing, allow your bark to cool for approximately 30-60 minutes. This step is crucial for ensuring the layers set properly, giving you that satisfying crunch with each bite.
Total Time
In total, you’re looking at about 1 hour and 15 minutes from start to finish. It’s a small time investment for a treat that will make your holiday gatherings feel even more special!
Nutritional Facts for Peppermint Bark
Creating a delightful peppermint bark combines sweetness, festive cheer, and a satisfying crunch, but it’s essential to consider its nutritional content. Knowing what goes into your treat can help you enjoy it responsibly.
Calories
A typical serving of peppermint bark (about 1 ounce or 28 grams) contains approximately 150 calories. It’s a charming holiday indulgence, but be mindful of portion sizes!
Sugar Content
With its rich chocolate base and candy cane pieces, peppermint bark can be fairly sweet. Each serving usually has around 15 grams of sugar, providing that delightful burst of sweetness you’re looking for during the holiday season.
Total Fat
A single serving generally contains about 8 grams of total fat. Most of this comes from the chocolate, so while it offers that creamy texture you love, it’s always nice to balance it with other wholesome snacks.
Enjoying peppermint bark doesn’t have to be a guilty pleasure; understanding its nutritional profile can help you make informed choices while celebrating!
FAQs about Peppermint Bark
Creating your own peppermint bark can be an engaging holiday tradition, bringing a touch of sweetness and festive cheer into your home. However, it’s natural to have a few questions as you embark on this delicious journey. Here are some common inquiries:
Can I use other types of chocolate?
Absolutely! While traditional peppermint bark features layers of dark and white chocolate, feel free to experiment. Milk chocolate provides a creamy flavor, and even bittersweet chocolate can add a depth of richness. Just keep in mind that the different melting points may slightly affect the texture, so adjust your melting time accordingly.
How should I store peppermint bark?
To keep your peppermint bark fresh, store it in an airtight container at room temperature for up to two weeks. If you’re looking to extend its life, consider freezing it. Just make sure to separate the layers with parchment paper before placing it in a freezer-safe bag. When you’re ready to enjoy it again, let it thaw at room temperature.
Can I make this nut-free?
Definitely! If you’re concerned about allergies, simply omit any nuts from the recipe. Classic peppermint bark shines in its simplicity with chocolate and crushed candy canes as its main stars. For an extra visual pop, consider adding festive decorations like edible glitter or colorful sprinkles that cater to your nut-free needs.
Embrace the joy of making peppermint bark, and let these tips enhance your festive experience!
Conclusion on Peppermint Bark
Embrace the Festivity
As the holiday season sparkles to life, nothing embodies the spirit quite like peppermint bark. This delightful treat is not just a dessert; it’s a celebration of flavors and festive cheer. Imagine the joy of sharing homemade peppermint bark with friends and family, evoking memories of cozy gatherings and winter wonder.
Crafting this candy is simple, yet it allows your creativity to shine. Whether you’re indulging in a piece after dinner or wrapping it as a gift, peppermint bark brings warmth and happiness. So, embrace tradition this year, and let the magic of peppermint bark sweeten your celebrations!
Print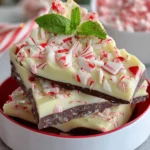
Peppermint Chocolate Bark
- Total Time: 30 minutes
- Yield: 12 servings 1x
- Diet: Vegetarian
Description
A delightful peppermint chocolate bark made with quality white and semi-sweet chocolate, perfect for the holidays!
Ingredients
Scale
- 18 ounces quality white chocolate chips
- 12 ounces quality semi-sweet chocolate chips
- ¾ teaspoon peppermint extract
- 5 candy canes, crushed (6 inches long ¼ inch thick)
Instructions
- Cover an 8×11-inch baking sheet with parchment paper or aluminum foil.
- Add 9 ounces of white chocolate chips to a microwave-safe bowl. Melt the white chocolate in the microwave at 50% power for 30-second intervals, stirring between each interval until the bowl no longer feels warm.
- Stir in ¼ teaspoon of peppermint extract. Pour the melted white chocolate onto the parchment paper and quickly spread it evenly using an offset spatula. Place the baking sheet in the fridge for 10 minutes.
- Melt the semisweet chocolate chips in the microwave at 50% power for 30-second intervals, stirring between each interval until the bowl no longer feels warm. Stir in ¼ teaspoon of peppermint extract.
- Pour the melted semisweet chocolate over the white chocolate. Quickly spread it evenly using an offset spatula. Do not overwork the chocolate. Place the baking sheet in the fridge for 10 minutes.
- Add the remaining 9 ounces of white chocolate to a microwave-safe bowl. Melt the white chocolate in the microwave at 50% power for 30-second intervals, stirring between each interval until the bowl no longer feels warm. Stir in ¼ teaspoon of peppermint extract.
- Pour the melted white chocolate over the semisweet chocolate. Quickly spread it evenly using an offset spatula. Do not overwork it. Quickly sprinkle the top with the crushed candy canes. Chill for 10 minutes or until set.
- Break the candy into small pieces or lift it out of the baking sheet using the parchment paper and place it on a cutting board and cut with a sharp knife.
Notes
- This recipe can be customized with different toppings like nuts or dried fruits.
- Make sure to use high-quality chocolate for the best flavor.
- Prep Time: 15 minutes
- Cook Time: 15 minutes
- Category: Desserts
- Method: No-Bake
- Cuisine: American
Nutrition
- Serving Size: 1 piece
- Calories: 200
- Sugar: 18g
- Sodium: 50mg
- Fat: 10g
- Saturated Fat: 6g
- Unsaturated Fat: 3g
- Trans Fat: 0g
- Carbohydrates: 23g
- Fiber: 1g
- Protein: 2g
- Cholesterol: 5mg