Follow Me On Social Media!
Reverse Sear Prime Rib: Juicy Perfection for Any Occasion
Introduction to Reverse Sear Prime Rib
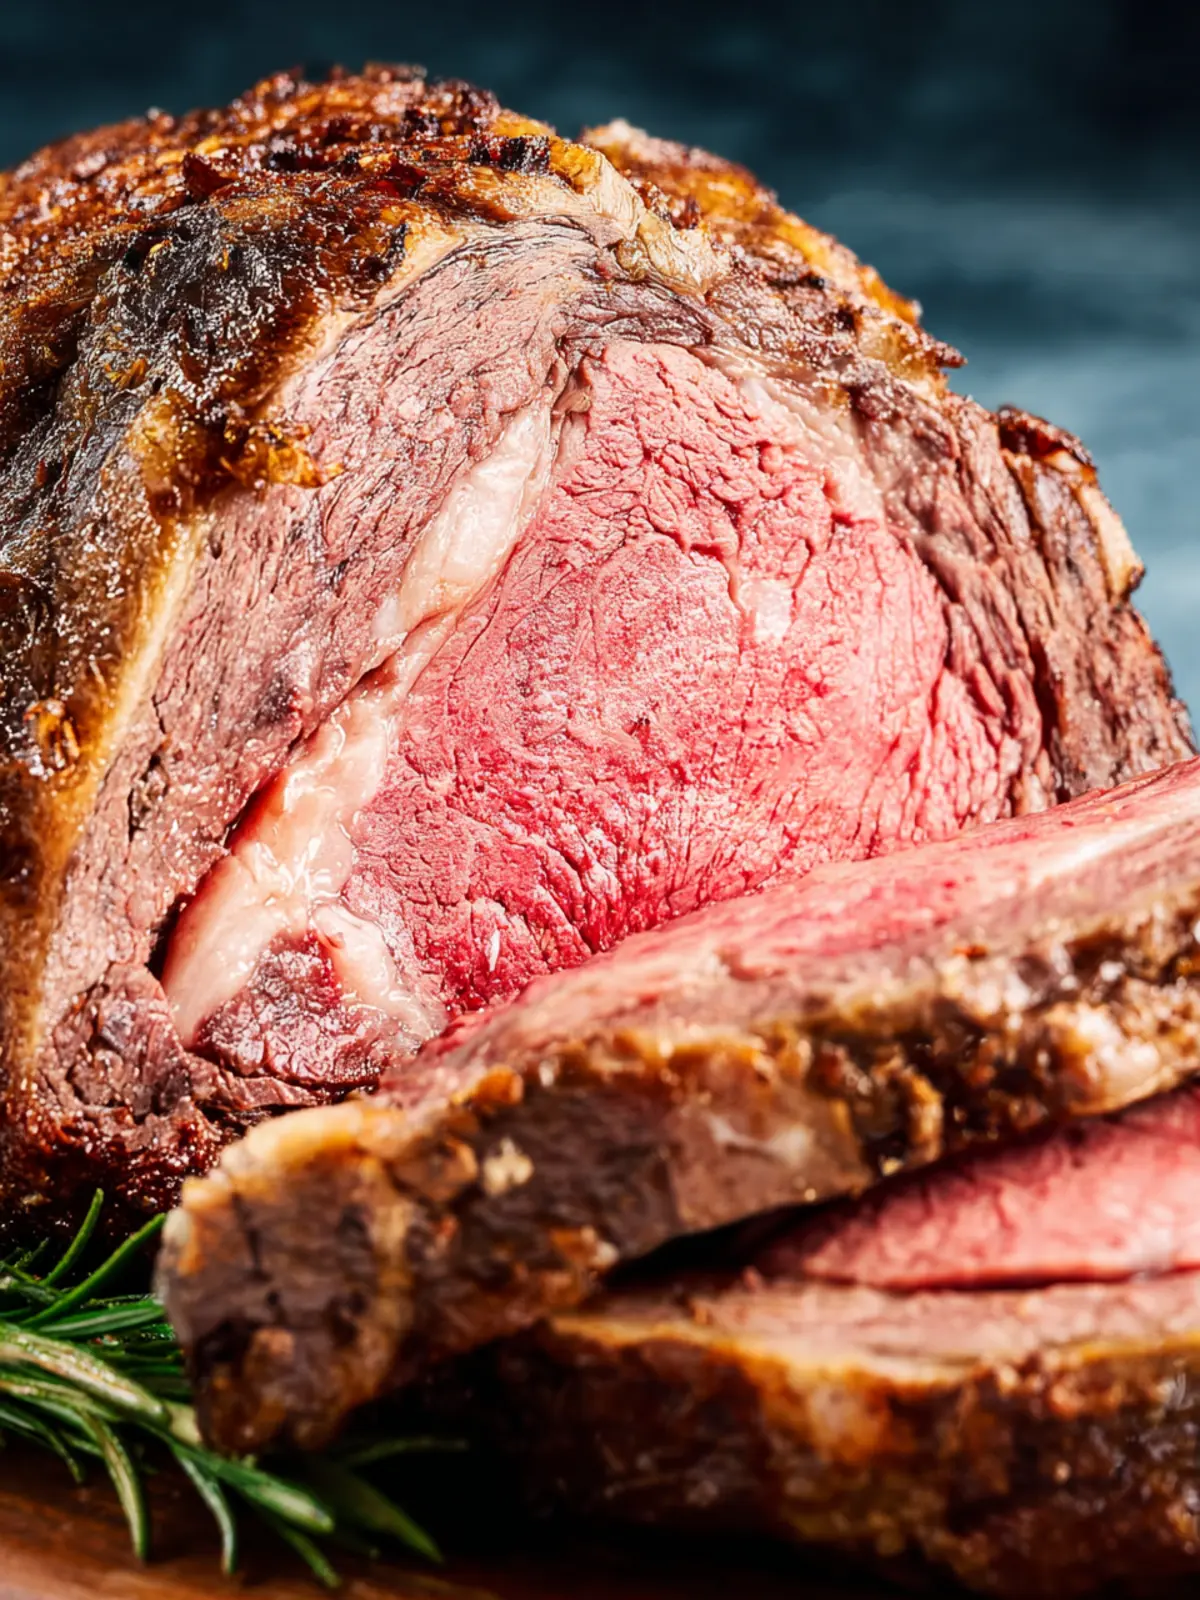
The Reverse Sear Prime Rib method has revolutionized how we achieve that perfect roast. Picture this: succulent slices of prime rib, perfectly golden on the outside while remaining tender and juicy on the inside. This stunning result is no longer a dream but a reality for home cooks, thanks to the reverse sear technique. By taking the time to slow-roast the prime rib at a low temperature before giving it a quick blast of high heat, you can transform what could otherwise be a complicated dish into a show-stopping centerpiece for your dinner table.
Why the Reverse Sear Method is a Game Changer for Prime Rib?
When it comes to cooking prime rib, traditional methods often fall short in delivering that desired tenderness and even doneness. Have you ever ended up with a perfectly cooked exterior but a dry or overcooked interior? The reverse sear is here to save the day.
-
Even Cooking: This method allows for more consistent cooking throughout the meat. By starting at a lower temperature, the meat’s interior cooks more evenly, removing the risk of a medium-well outer layer while the inside remains rare.
-
Enhanced Flavor and Texture: The reverse sear not only promotes even cooking but also enhances the Maillard reaction. This scientific process produces that delectable crust we all crave—deep, rich flavors that make your taste buds dance.
-
Ease of Monitoring: Using a meat thermometer is a breeze during the slow-roasting phase. You won’t have to wrestle with hot pans or worry about overcooking. As the meat rises to temperature, you can prepare side dishes or set the table.
As you embark on your culinary adventure with Reverse Sear Prime Rib, keep in mind that the journey is as rewarding as the end result. This method encourages mindfulness in cooking, inviting you to savor each step—and ultimately, each bite. So, gather your friends, set the mood, and get ready to impress like never before!
Key Ingredients for Reverse Sear Prime Rib
Bone-in standing rib roast
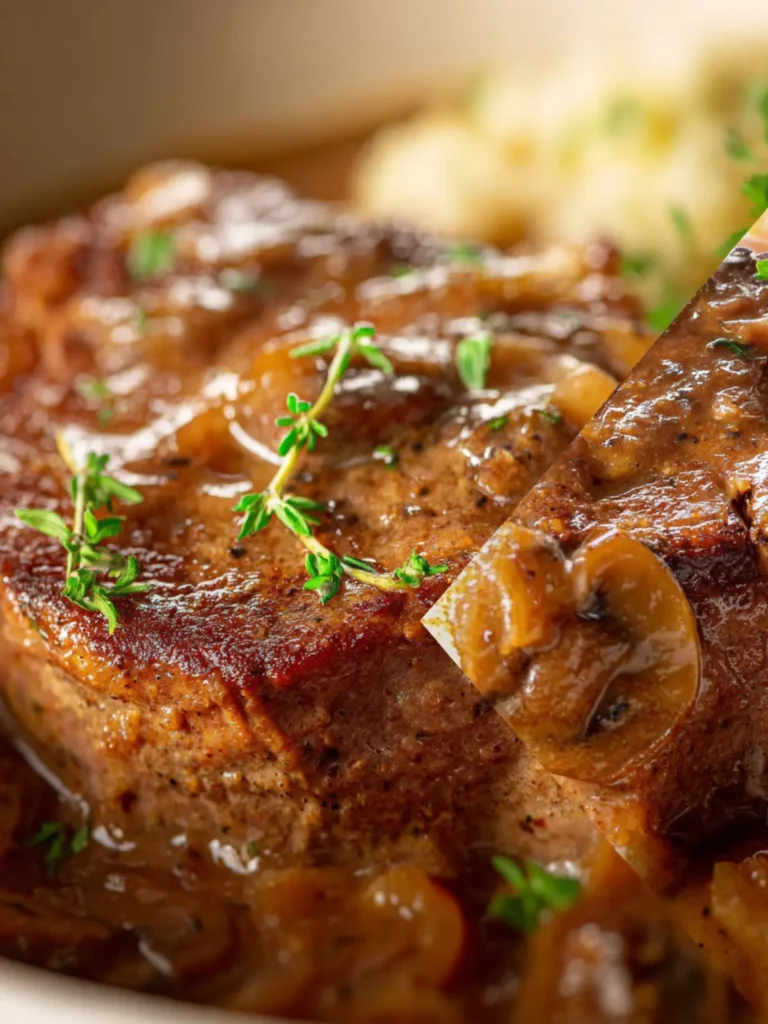
The centerpiece of your Reverse Sear Prime Rib is undeniably the bone-in standing rib roast. This cut not only provides an exquisite depth of flavor but also remains incredibly juicy as it roasts. Opt for a prime grade rib to ensure a melt-in-your-mouth experience that elevates your dinner party to a whole new level.
Kosher salt
Good seasoning is paramount for bringing out the meat’s natural flavors. I recommend using kosher salt to generously coat your roast. The salt works to draw out moisture and not only enhances flavor but also helps create that coveted crust at the end.
Freshly ground black pepper
Nothing complements the rich flavor of the rib roast like freshly ground black pepper. This spice gives the meat a bold kick while balancing its natural richness, making each bite a delightful experience.
Unsalted butter
In this recipe, unsalted butter plays a dual role. It adds a luxurious richness to the sear and helps create a perfectly golden-brown crust. It’s all about achieving that mouthwatering exterior while keeping the inside tender.
Fresh rosemary and/or thyme
To elevate your Reverse Sear Prime Rib, don’t forget the herbs! Fresh rosemary and/or thyme add wonderful aromatic notes that balance the beef’s intensity. Just a sprinkle of these will transport your taste buds right to a cozy restaurant atmosphere.
Why You’ll Love This Recipe
Perfectly cooked prime rib every time
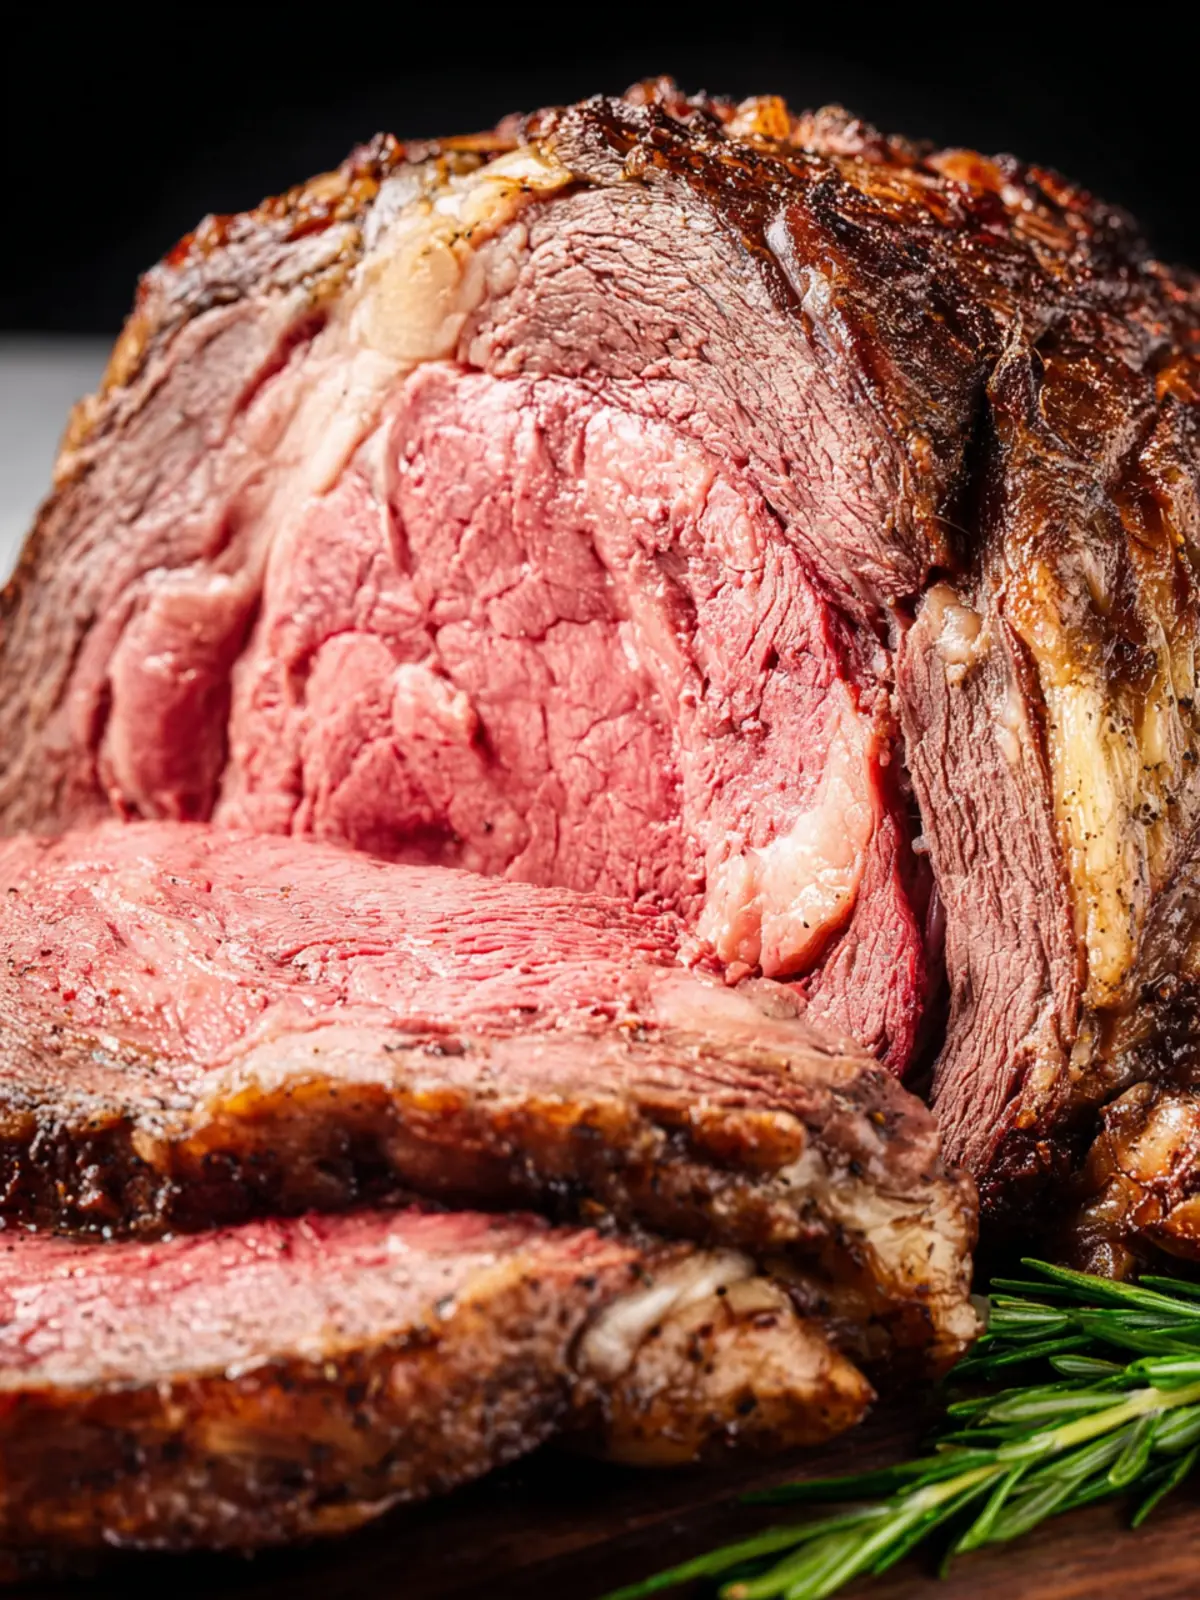
Picture this: a stunning Reverse Sear Prime Rib that boasts a mouthwatering crust and juicy, tender meat throughout. This preparation method ensures that your prime rib reaches the ideal doneness, eliminating the guesswork often associated with traditional roasting. The result? Every slice showcases a perfect pink center. That’s right—no more overcooked edges or underwhelming flavors!
A hands-off, low-temperature cooking method
One of the standout features of this Reverse Sear Prime Rib technique is its low and slow approach. By starting in a cool oven, you can effortlessly manage the cooking process. You’ll have plenty of time to focus on your side dishes or even enjoy a glass of wine with friends while it cooks. When the internal temperature reaches just right, a quick sear in a hot skillet locks in all that amazing flavor, making the meat absolutely irresistible.
Ideal for special occasions and gatherings
Whether it’s a family gathering, holiday feast, or just a cozy dinner with friends, your Reverse Sear Prime Rib will be the star of the show. It’s impressive yet accessible, making it perfect for both seasoned chefs and novices alike. Your guests will rave about it, and you’ll love being the one to deliver a meal that feels truly special. Who wouldn’t want to make memories over a perfectly cooked prime rib?

Tips for Making the Perfect Reverse Sear Prime Rib
Preparing ahead for the best flavor and texture
Creating a reverse sear prime rib begins long before it hits the oven. Start by seasoning your roast generously with salt and pepper at least 24 hours in advance. This allows the flavors to permeate the meat and ensures a juicy, flavorful result. If time permits, try incorporating a dry rub featuring herbs like rosemary or thyme, enhancing those savory notes.
Importance of resting the meat before and after cooking
Resting is key in achieving the perfect reverse sear prime rib. Before cooking, let your roast sit at room temperature for about an hour. This step promotes even cooking. After you’ve finished searing, don’t rush to slice it. Letting the roast rest for at least 20-30 minutes allows the juices to redistribute, leading to a succulent and tender bite.
High-temperature searing tips for a perfect crust
For that delightful crust, turn up the heat! Once your roast reaches the ideal internal temperature in the oven, crank your grill or skillet to high heat. Sear each side for 1-2 minutes until you achieve that golden-brown crust. Remember, don’t overcrowd the pan; this ensures a better sear. A perfect crust adds layers of texture and flavor to your reverse sear prime rib, making your meal unforgettable.
Time Breakdown for Reverse Sear Prime Rib
Planning your Reverse Sear Prime Rib meal involves understanding the timing intricacies that turn an ordinary dinner into an extraordinary feast. This method ensures that you achieve that glorious crust while keeping the center beautifully rare.
Preparation time
Before diving into cooking, set aside about 45 minutes for preparation. This includes seasoning the rib with your favorite herbs and spices, allowing the flavors to meld while you prepare your cooking setup.
Cooking time
The cooking process is divided into two main phases. First, the rib will need approximately 2 to 2.5 hours at a low temperature to slowly reach the desired internal heat. Once that’s completed, a final sear on high heat requires about 20 to 30 minutes, achieving that perfect crust.
Resting time
Patience is key! After cooking, let your Reverse Sear Prime Rib rest for at least 30 minutes. This allows the juices to redistribute, ensuring every slice is juicy and flavorful.
Total time
In total, you’re looking at around 3 to 3.5 hours from start to finish, but trust me, the wait is worth every minute! This length of time leads to a prime rib that’s unique and memorable, bringing warmth to your dinner table.
Nutritional Information for Reverse Sear Prime Rib
When you’re indulging in the sumptuous experience of Reverse Sear Prime Rib, understanding its nutritional profile can enhance your dining experience. This mouthwatering dish not only satisfies your taste buds but also packs a punch in several key nutritional areas.
Calories
A typical serving of Reverse Sear Prime Rib contains about 400 to 500 calories, depending on portion size and preparation methods. This makes it a hearty meal option for special occasions.
Protein
One of the standout features of this prime rib is its high protein content, which averages around 50 grams per serving. Protein is essential for muscle repair and growth, making this dish a great choice post-workout.
Fat content
With approximately 35 grams of fat, this meal does contain a significant amount of healthy fats from the beef, providing energy and a satisfying richness. It’s worth noting that much of this fat is monounsaturated fat, which can be beneficial in moderation.
Sodium
A serving typically contains around 700 milligrams of sodium. While it’s lower than some processed options, it’s still wise to balance your sodium intake throughout the day, especially if you’re watching your salt levels.
With this nutritional information in hand, you can savor your Reverse Sear Prime Rib with a better understanding of its benefits and how it fits into your diet. Enjoy the rich flavors and the robust experience that this dish brings to the table!
FAQs about Reverse Sear Prime Rib
What is the reverse sear method and why is it effective?
The reverse sear method is a technique that begins with low and slow cooking, followed by a high-heat finish. This approach allows the prime rib to cook evenly throughout, ensuring that every bite is succulent and perfectly done. By roasting the meat at a lower temperature first, you avoid that dreaded overcooked exterior while achieving a beautiful, caramelized crust during the final searing phase. The result? A prime rib that’s flavorful, juicy, and impressively tender!
How do I know when my prime rib is done?
To ensure your reverse sear prime rib is cooked to perfection, using an instant-read meat thermometer is your best ally. Aim for:
- 110°F to 115°F for medium-rare
- 120°F to 125°F for medium
Remember, the meat will continue cooking slightly after removing it from the oven, so it’s always better to undercook slightly!
Can I use this method for other cuts of beef?
Absolutely! The reverse sear method works beautifully for various cuts of beef, including ribeye steaks, sirloins, and tenderloins. The key is to monitor the internal temperature and adjust cooking times based on thickness.
What are some common mistakes to avoid?
To elevate your reverse sear prime rib game, steer clear of these pitfalls:
- Skipping the resting phase: Letting the meat rest for at least 20 minutes after cooking will help the juices redistribute, enhancing flavor.
- Not using a meat thermometer: Relying solely on cooking times can lead to overcooked meat.
- Searing at the wrong temperature: Make sure your pan or grill is sufficiently hot before searing to achieve that coveted crust.
Embrace these tips, and you’ll be on your way to making a mouthwatering prime rib!
Conclusion on Reverse Sear Prime Rib
Recap of the method’s benefits
The Reverse Sear Prime Rib technique is a game changer for meat lovers. This method ensures your prime rib is seasoned perfectly, yielding a juicy interior with a beautifully browned crust. The low-and-slow cooking creates even doneness, minimizing the risk of overcooking, while the final searing adds that restaurant-quality finish.
Encouragement to try this recipe for your next gathering
Ready to impress at your next gathering? This Reverse Sear Prime Rib recipe is sure to be a showstopper. With its rich flavors and delightful aromas, it elevates any meal, making it a memorable experience for friends and family. Give it a try—you won’t be disappointed!
Standing Rib Roast
- Total Time: 30 hours 30 minutes
- Yield: 6 servings 1x
- Diet: Carnivore
Description
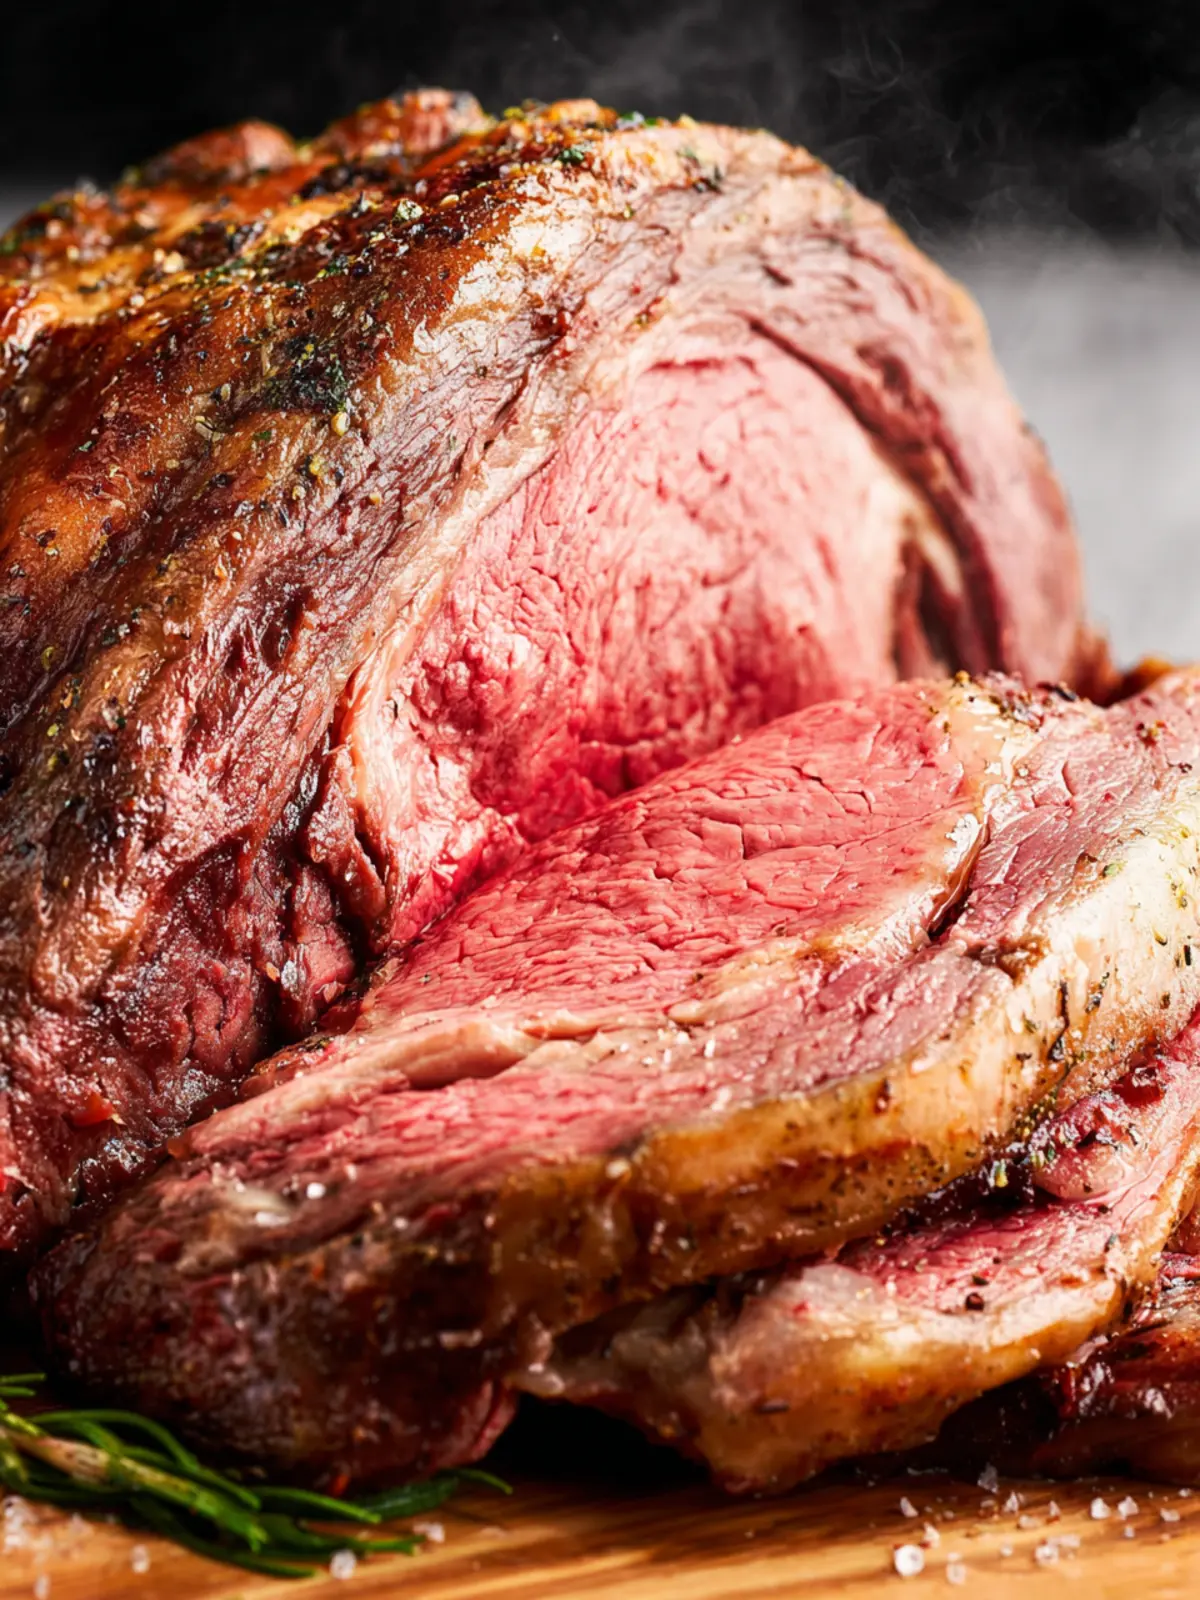
This standing rib roast is perfect for special occasions, offering tender, flavorful meat with a beautiful crust.
Ingredients
Scale
- 1 (6-pound) bone-in standing rib roast (fat trimmed to about 1/2 inch)
- kosher salt
- freshly ground black pepper
- 4 tablespoons unsalted butter (softened)
- fresh rosemary and/or thyme
Instructions
- Before you begin (important timing notes): This recipe is mostly hands-off, but it does need a little planning ahead. Please take a moment to read through the steps so you can give the roast the time it needs. Season the roast 24 hours ahead for the best flavor and texture; about 2 hours resting at room temperature before cooking time is 3–4 hours, depending on oven temperature and roast size. Long rest (30–60 minutes) happens before the final sear; final sear is quick (5–10 minutes), followed by a short rest before slicing. Most of the time is passive, but this isn’t a last-minute dish. If you follow the full 24-hour dry-salting step, plan on about 30 hours from start to serving.
- Seasoning (ideally 24 hours ahead): Ideally 24 hours before cooking, generously season the rib roast on all sides with kosher salt. Place the roast on a rack set over a baking sheet and refrigerate uncovered, or loosely covered, safely distanced from other food, to allow the surface to dry and the salt to penetrate deeply into the meat. This step is essential for flavor and for developing a good crust later. If you’re short on time, do this step for the maximum amount of time you have available.
- Preparation before roasting: Remove the roast from the refrigerator around 2 hours before cooking to allow it to come to room temperature. Using the butter option, mix the softened butter with freshly ground black pepper and optional herbs. Slather evenly over the roast; if not using butter, simply season the roast generously with black pepper.
- Prepare for roasting: Preheat the oven to 200°F–225°F. (Some ovens struggle to hold very low temperatures – choose the setting your oven maintains most consistently.) Place the roast fat side up on a roasting rack set in a large roasting pan, or on a wire rack set inside a rimmed baking sheet. Insert a meat thermometer into the thickest center portion of the roast, avoiding the bone.
- Low-temperature slow roast: Place the roast in the oven and roast until the internal temperature reaches your preferred level. These temperatures refer to the point at which the roast is removed from the low-temperature oven before the final high-heat sear: Rare: pull at 115–120°F, Medium-rare: pull at 120–125°F, Medium: pull at 130–135°F, USDA recommended minimum: 145°F, followed by a 3-minute rest (skip the reverse sear). After resting and the final sear, the internal temperature will rise slightly. Timing: At 225°F: about 30 minutes per pound, At 200°F: about 30–45 minutes per pound. Total cook time will typically be 3 to 4 hours, but always rely on temperature, not the clock.
- Resting (critical for juicy meat): Remove the roast from the oven and place it on the counter, lightly tented with foil. Let it rest at room temperature for 30 to 60 minutes. Rest allows juices to redistribute and ensures even cooking before the final sear.
- High-temperature searing: Increase the oven temperature to 450-500°F. This step can produce smoke. Open windows, turn on exhaust fans, remove pets and kids from the kitchen, and take precautions as needed. If excessive fat has collected in the roasting pan, transfer the roast to a clean pan to minimize smoking. When the oven is fully preheated, return the roast to the oven and sear for 5 to 10 minutes, just until a deep brown crust forms. Watch closely and remove the roast as soon as it is deeply browned.
- Final rest and serving: Remove the roast from the oven and let it rest for a few minutes. Carve into slices and serve immediately.
Notes
- Allow 30 hours from start to serving if following the 24-hour dry-salting step.
- Make sure to keep the roast evenly coated with salt for optimum flavor.
- Adjust cooking times based on the size of the roast and desired doneness.
- Prep Time: 30 minutes
- Cook Time: 3–4 hours
- Category: Main Course
- Method: Roasting
- Cuisine: American
Nutrition
- Serving Size: 1 slice
- Calories: 350
- Sugar: 0g
- Sodium: 600mg
- Fat: 28g
- Saturated Fat: 10g
- Unsaturated Fat: 16g
- Trans Fat: 0g
- Carbohydrates: 0g
- Fiber: 0g
- Protein: 30g
- Cholesterol: 110mg